
DIY Board and Batten Nursery Accent Wall
This weekend I made it my goal to finish that easy DIY board and batten nursery accent wall and guess what…
I did it!!
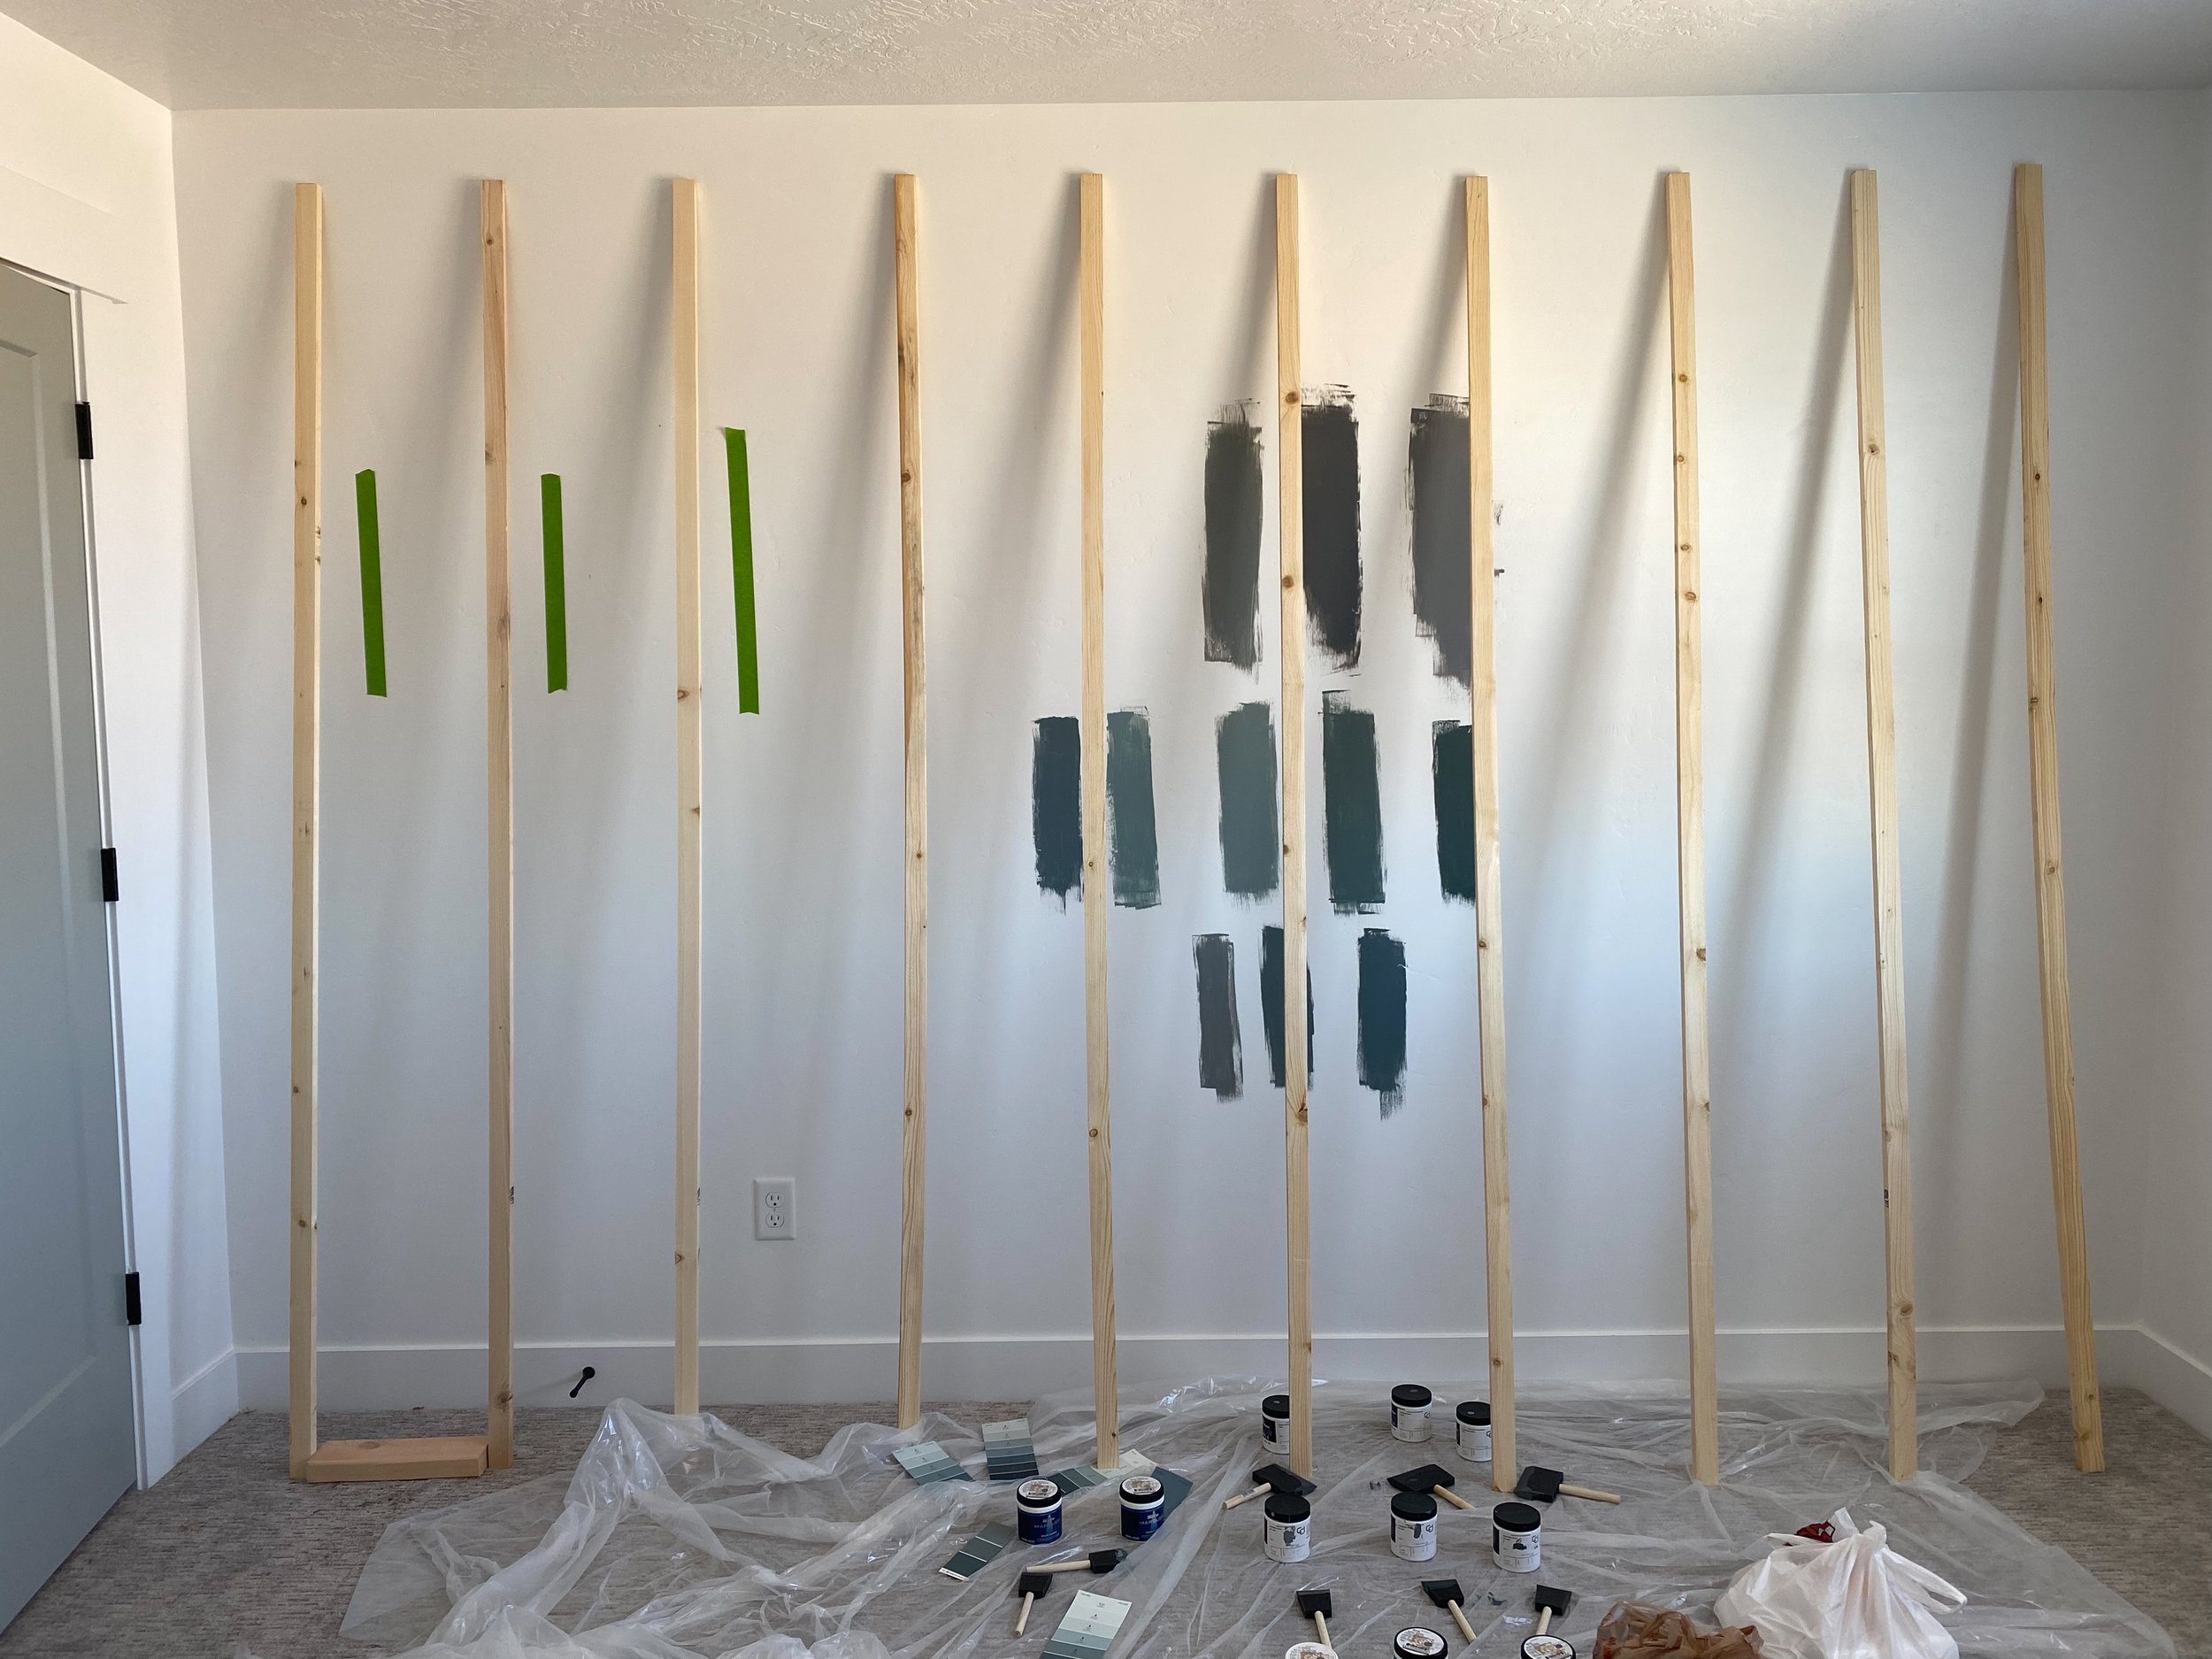
Phew! I’m clearly not a DIYer because after just a single wall I think I’m done DIYing for the year. It really was an easy project but deciding on paint colors, well… that made my brain hurt. We ended up testing out 11 samples. Yes, eleven. I had this vision in my head of a gray with a hint of blue and green wall color and for some reason everything I tried just wasn’t what my brain at pictured. But after 11 samples I was done trying new colors (shocking I lasted that long, honestly) and we just chose one and crossed our fingers we liked it. If you want to see all of the greyish-blue wall colors we sampled, here’s a blog post I put up with the colors and color names. .
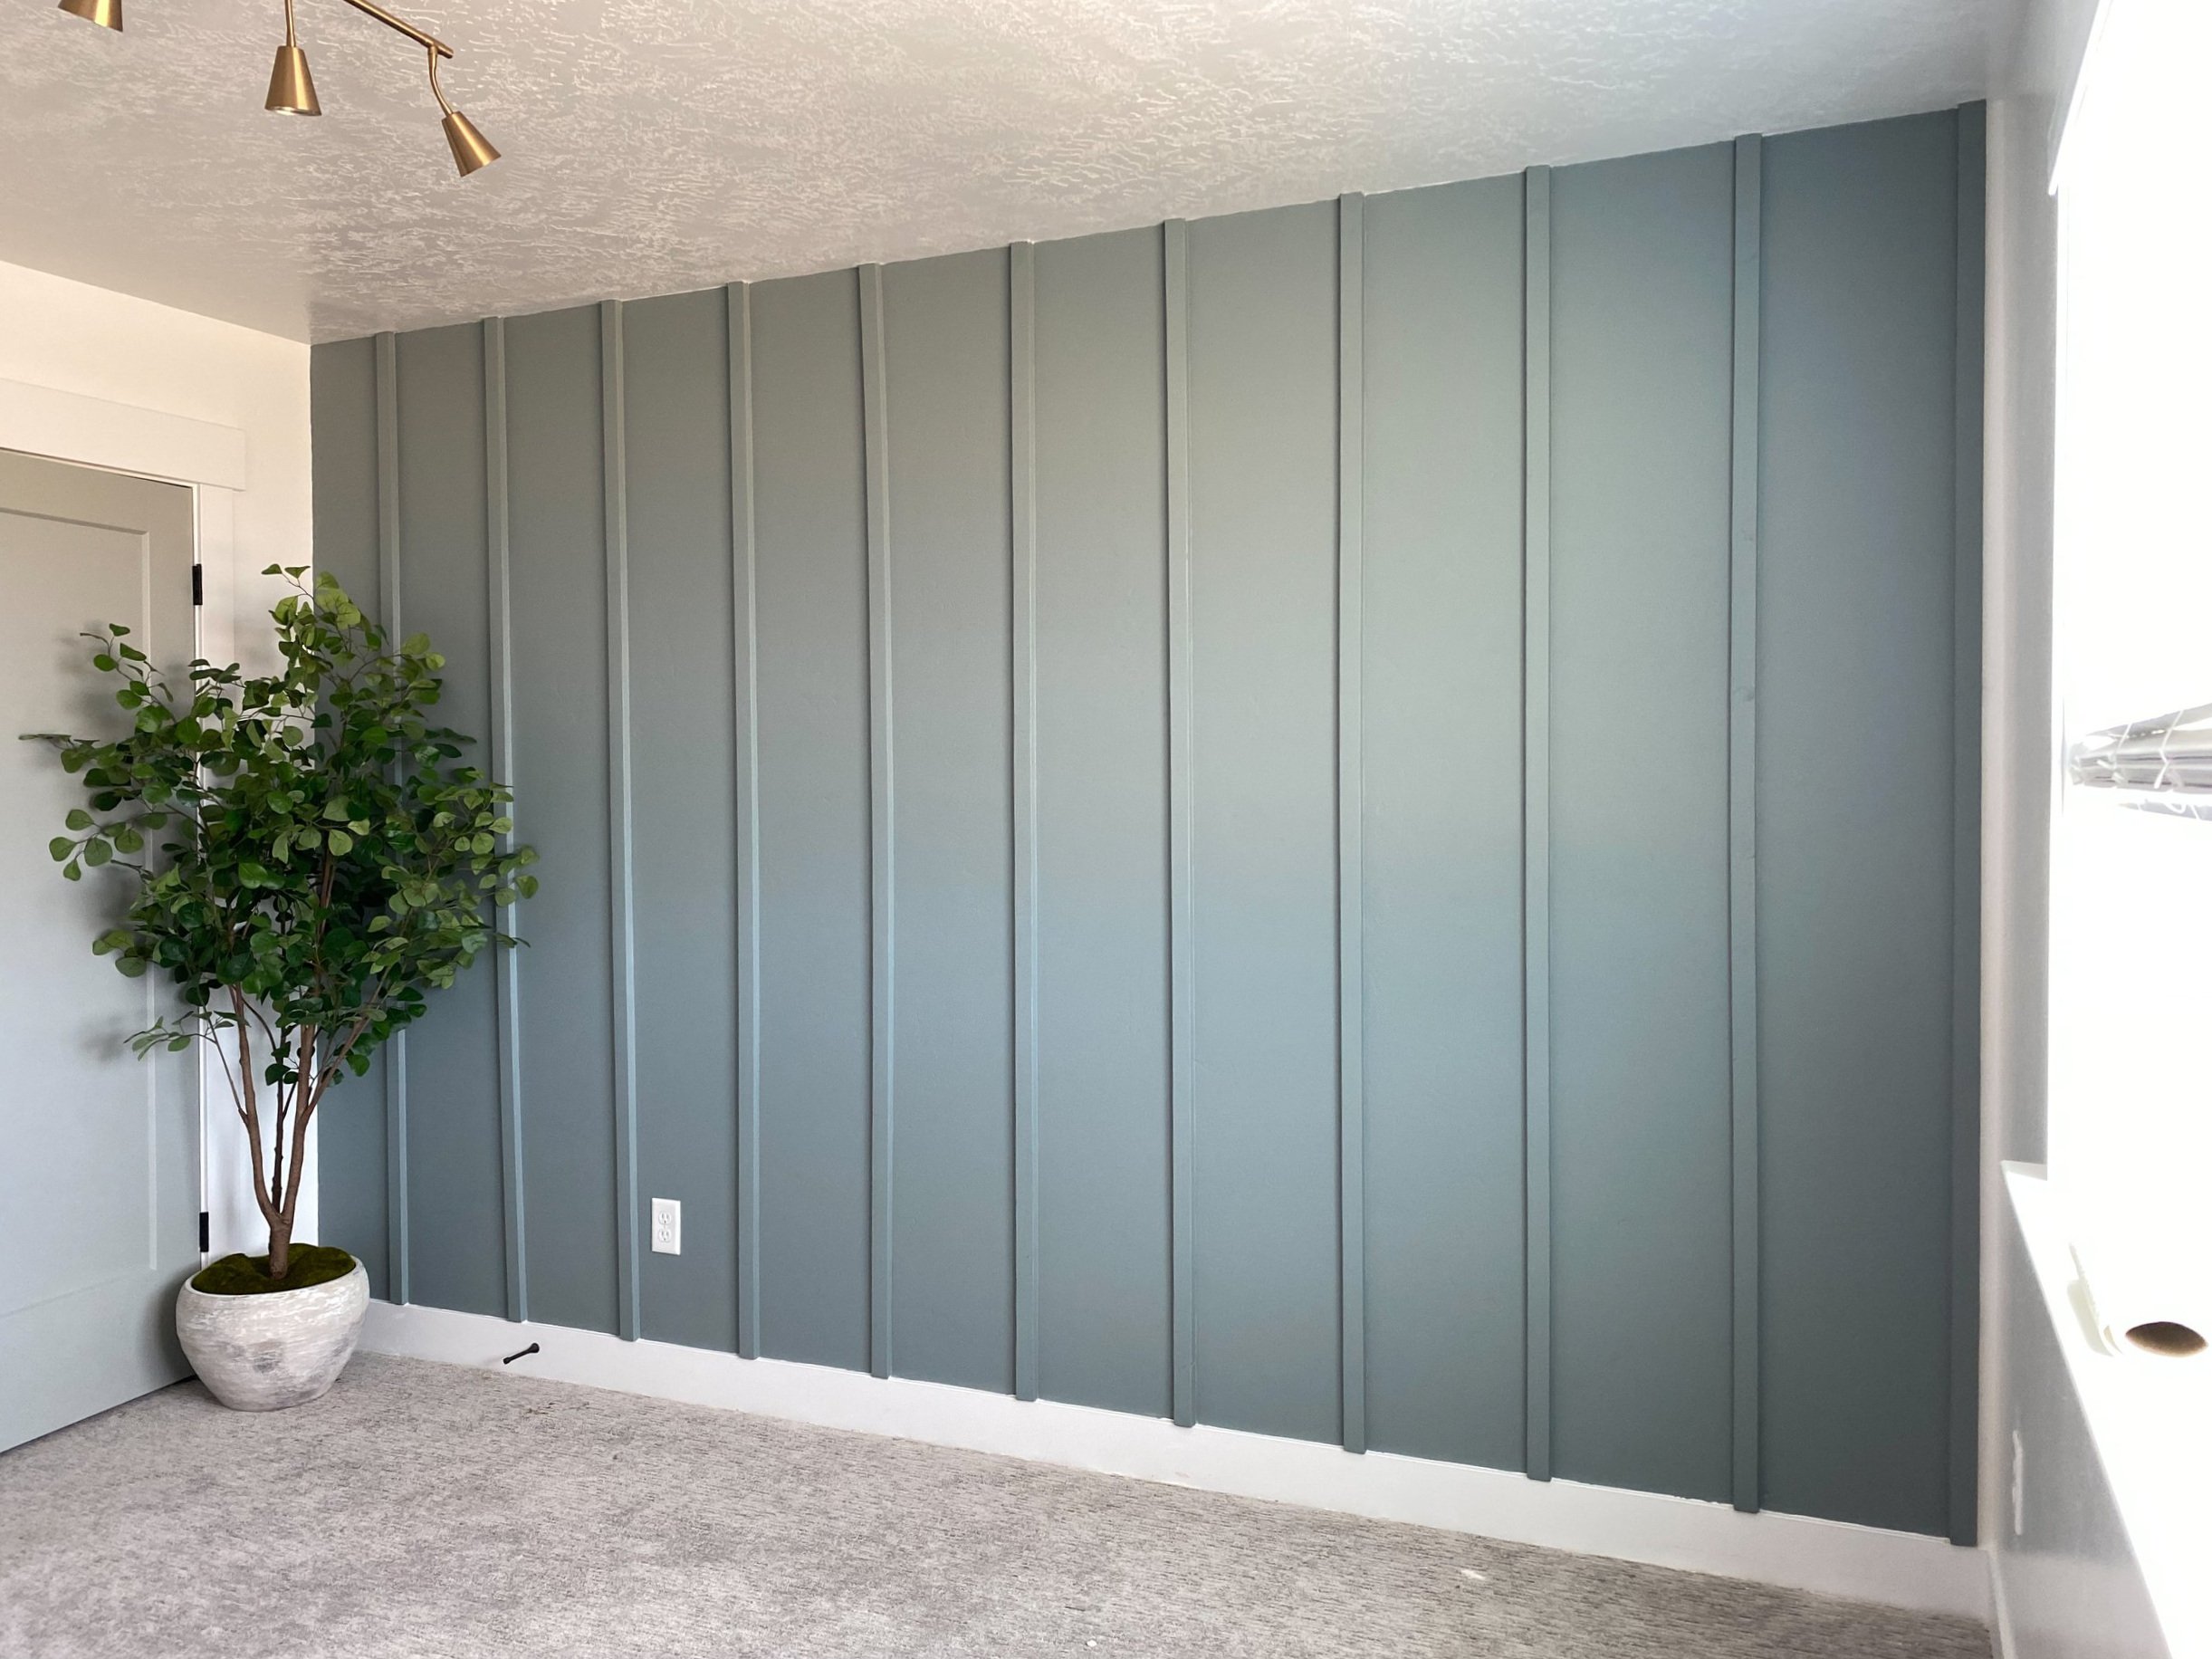
And I LOVE it!! Thank goodness, because there’s no way I would have re-done it after all of this. But I am so so happy with how it turned out — a gray-blue-green wall color that looks totally different depending on the lighting (you’ll see what I mean when you scroll down to the final photos).
If you’re considering doing a DIY board and batten wall, I promise it’s super easy. This is the firwst one I’ve ever done and I did it all on my own and all in one weekend so I promise you can do it ;)
How to Make A DIY Board and Batten Accent Wall
These are all of the products we used:
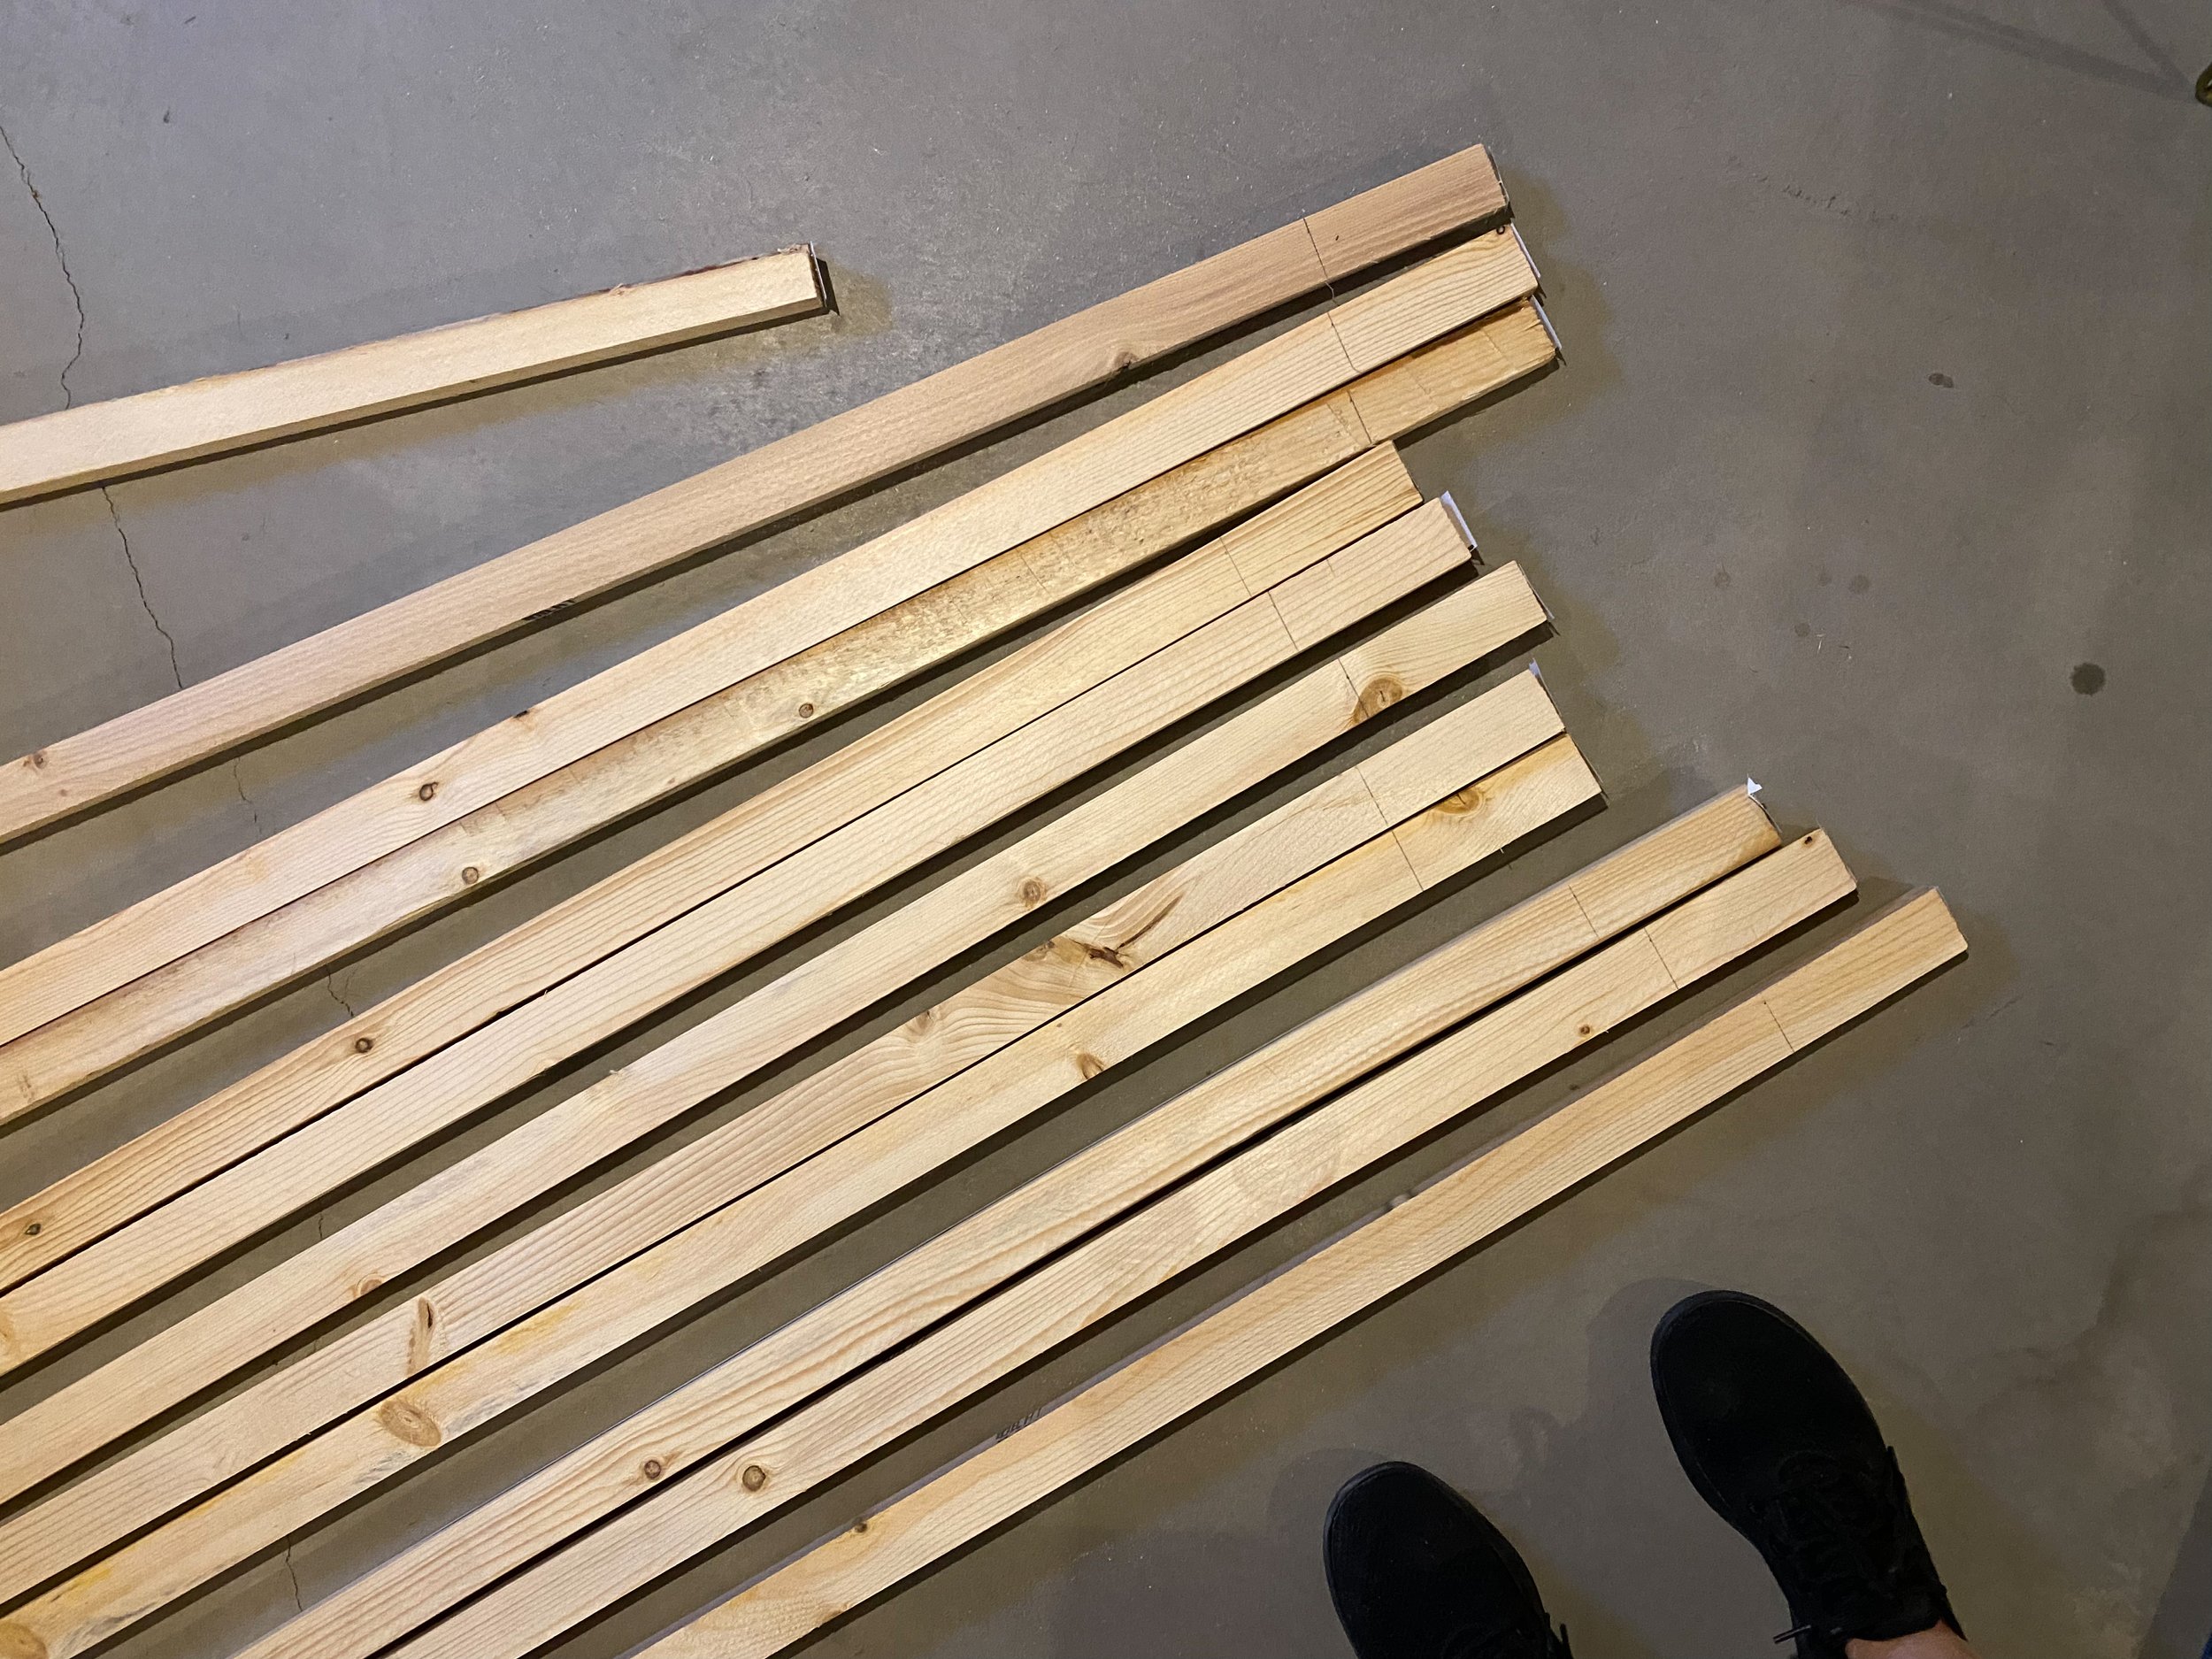
Furring Strip Boards (1inch x 2inch x 8 ft)
Sand Paper (used with an electric sander)
Paint (we used Benjamin Moore Brewster Gray HC-162)
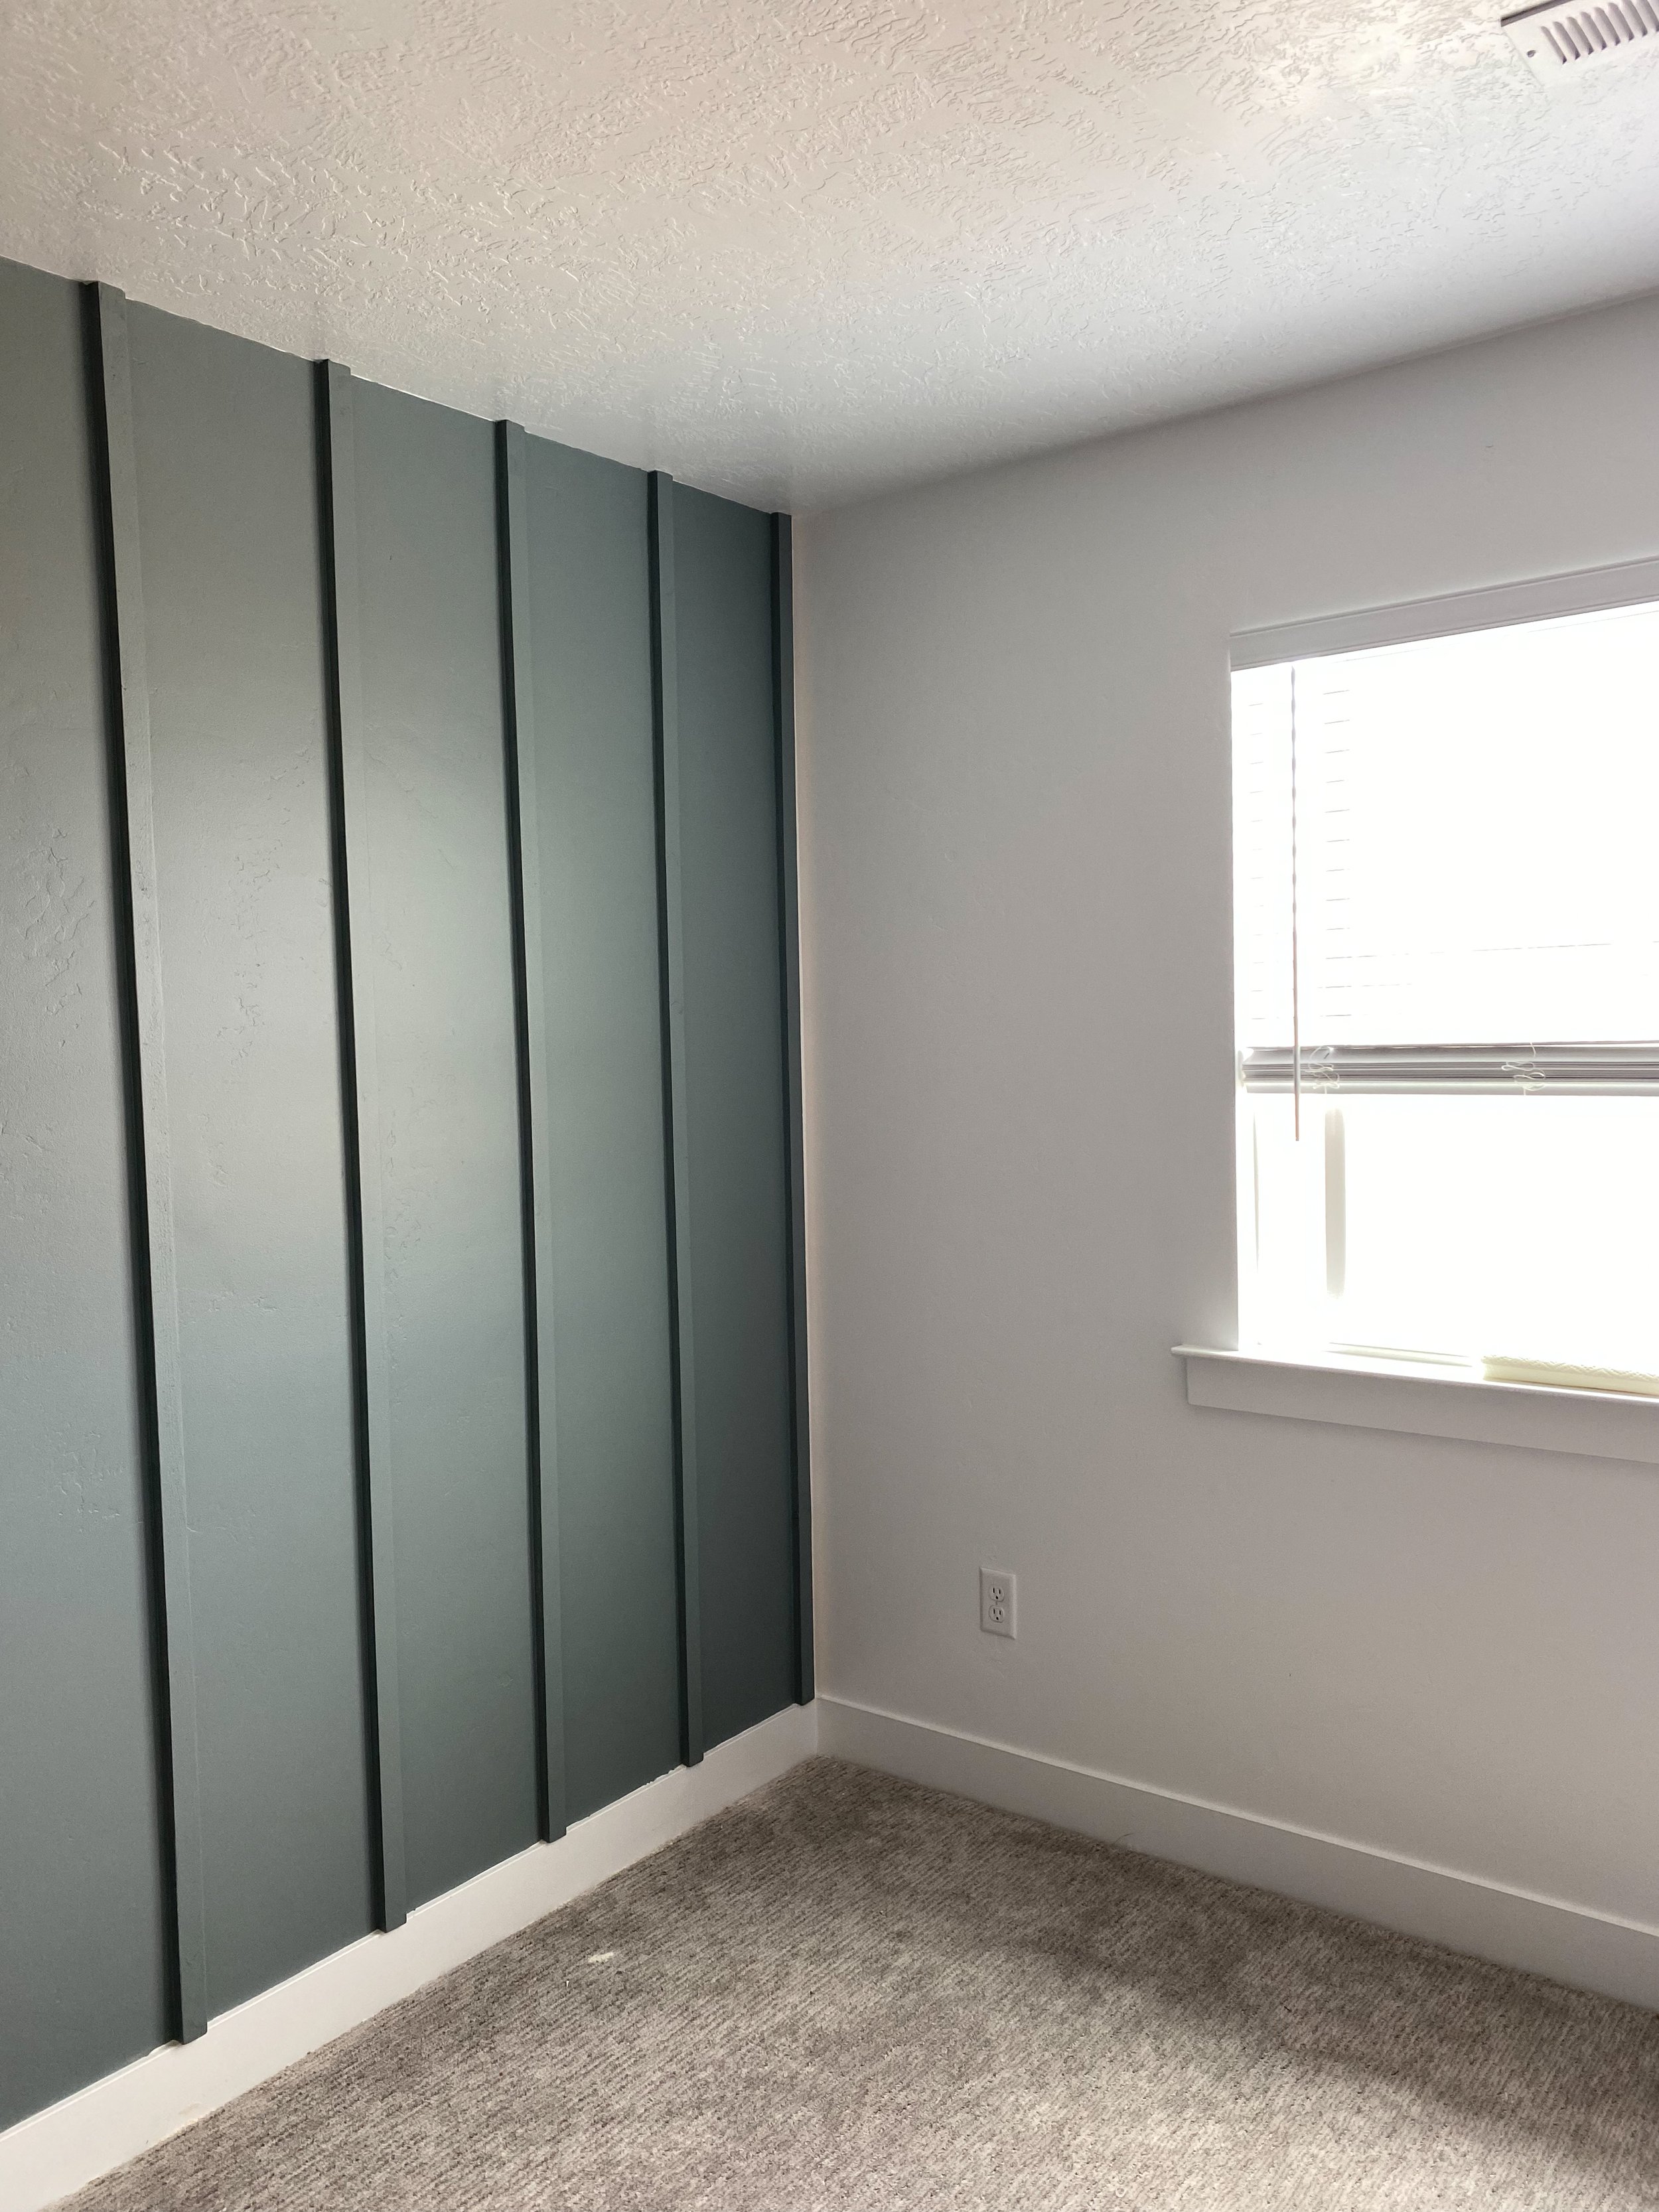
So to start, we, of course, measured the height of the boards we’ve be adding to the wall - we went from ceiling to the top of the moulding but one option I considered was a half wall. But anyhow, cut all of your boards to the correct length. I did this all just with a little hand saw.
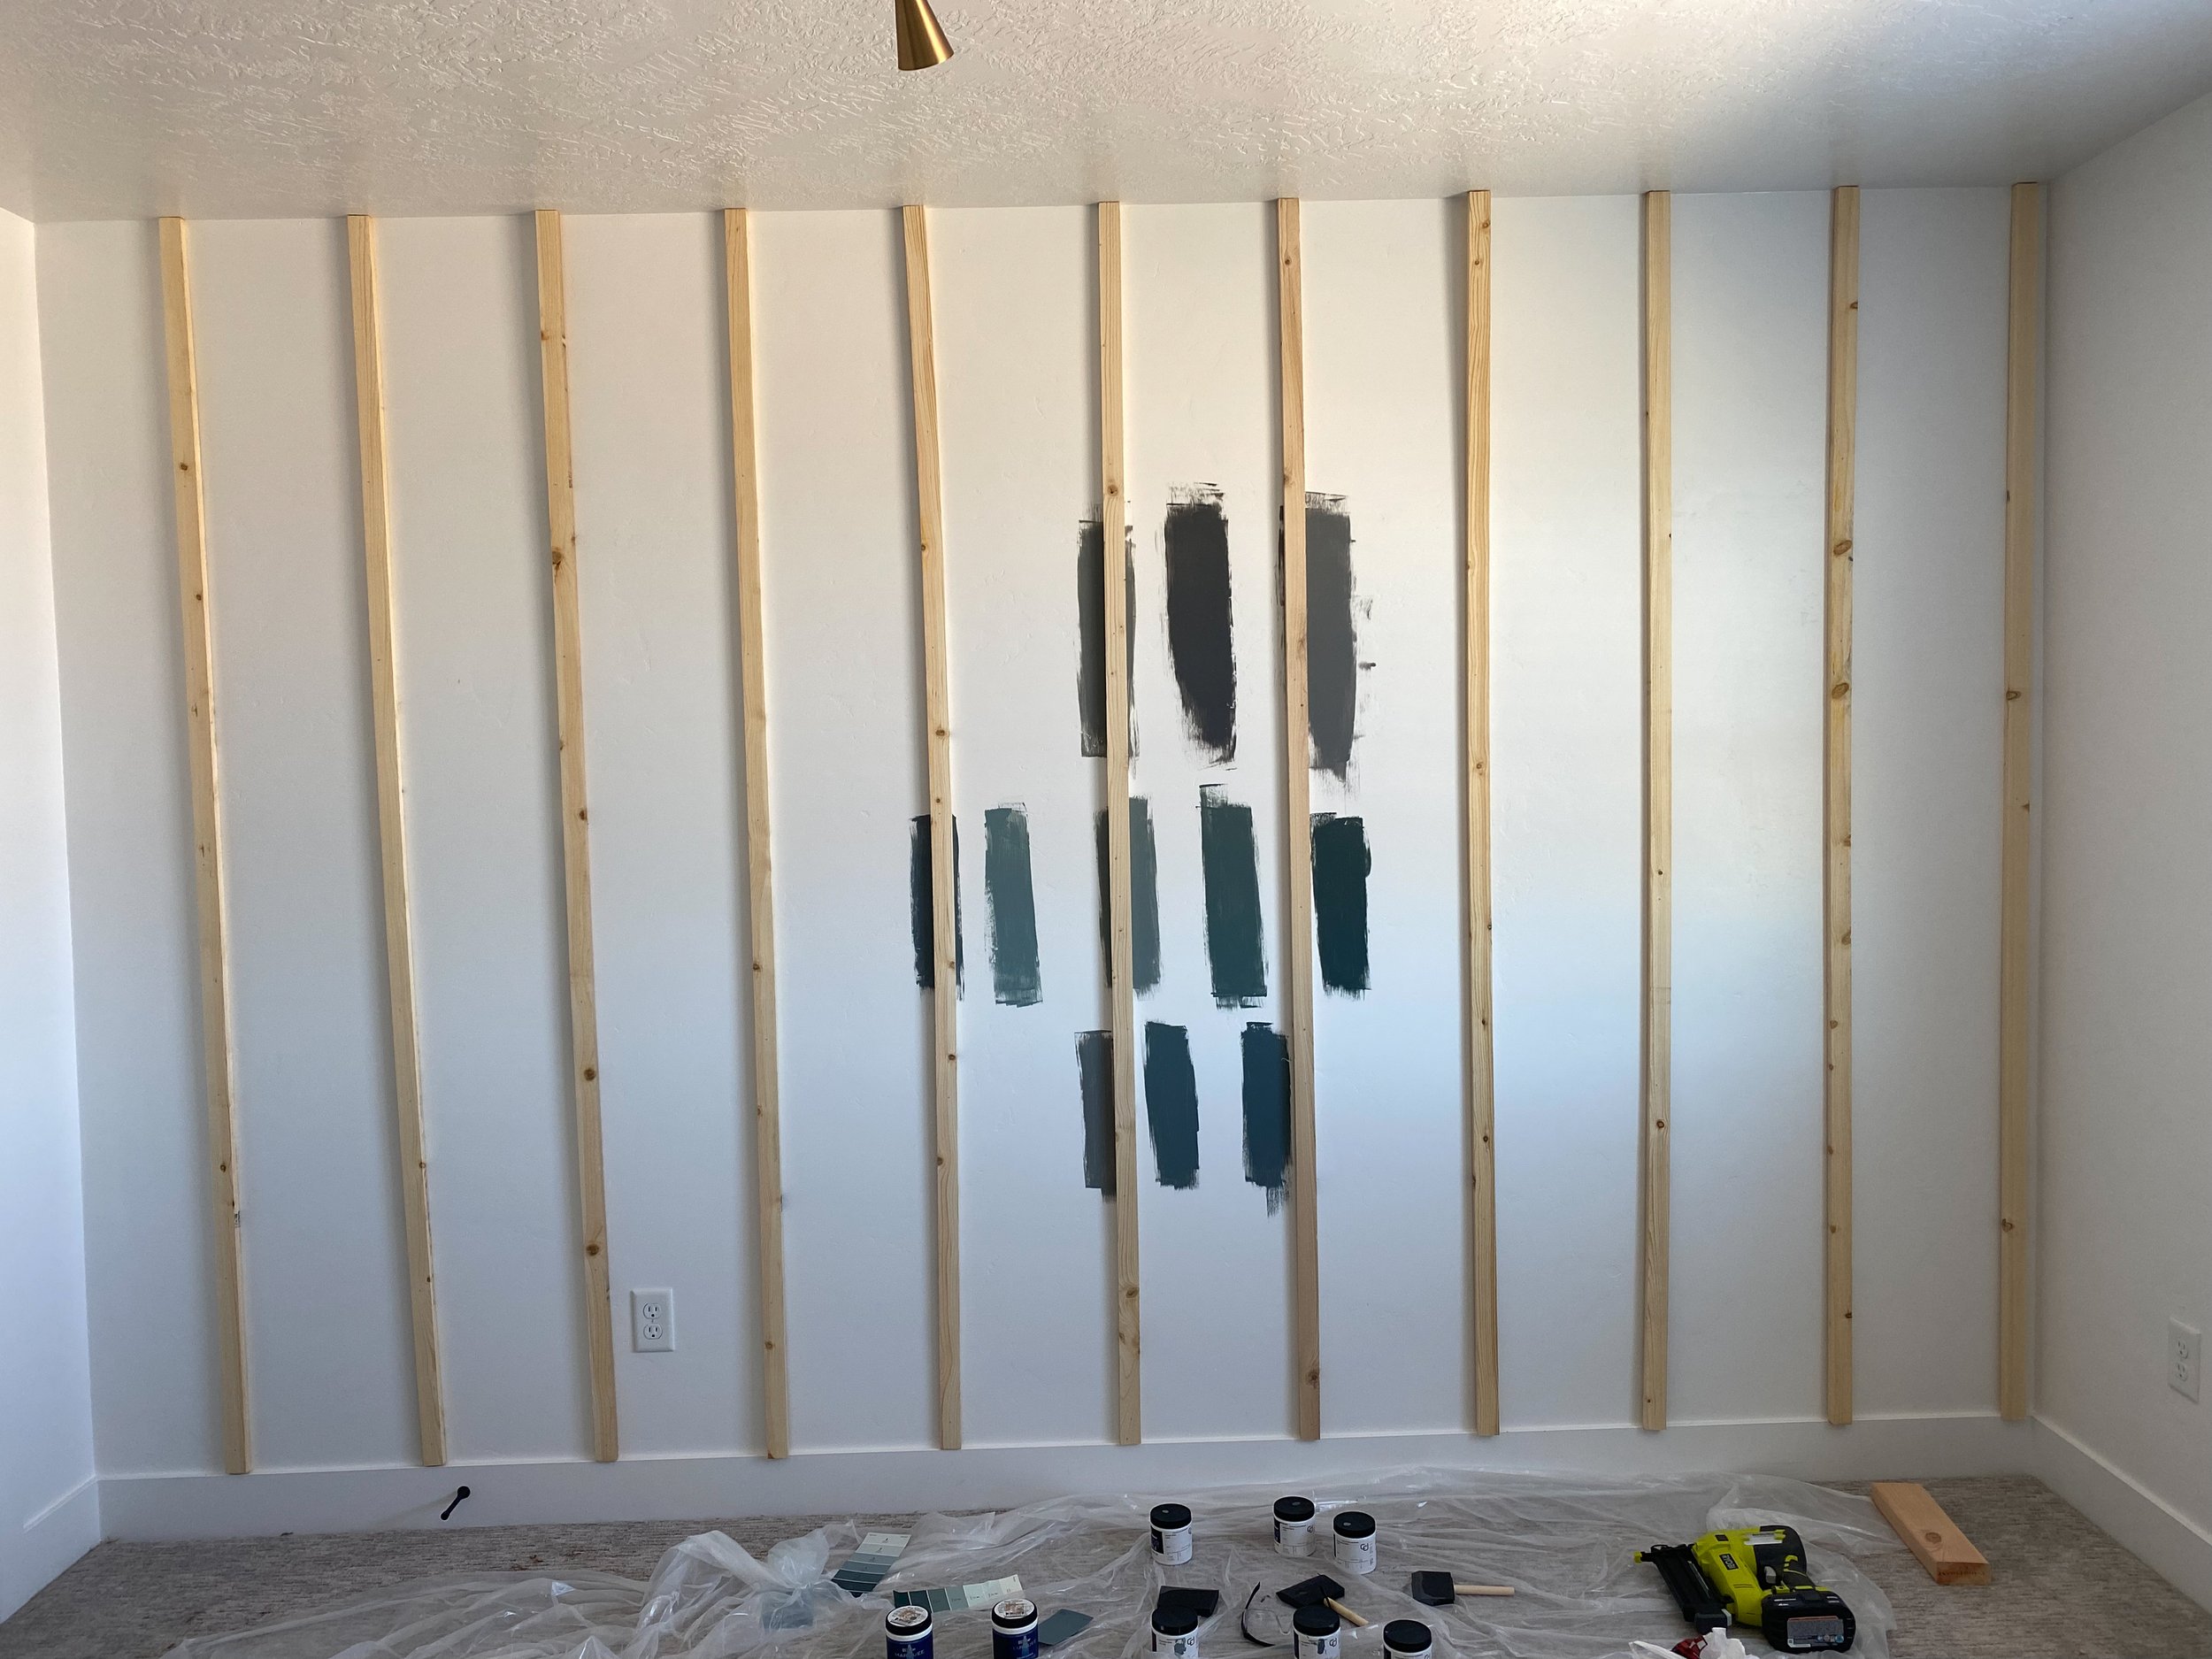
Next I used a piece of wood we already had in the basement that was around 11.5 inches and used this to measure the space between each board. I used the nail gun to hold it up in the center, then used a level to make sure the board was straight before nailing it all in from top to bottom.
Just a little piece of advice: Start near your outlet so you don’t end up having a board directly over the outlet… making extra cuts for that does not sound fun to me.
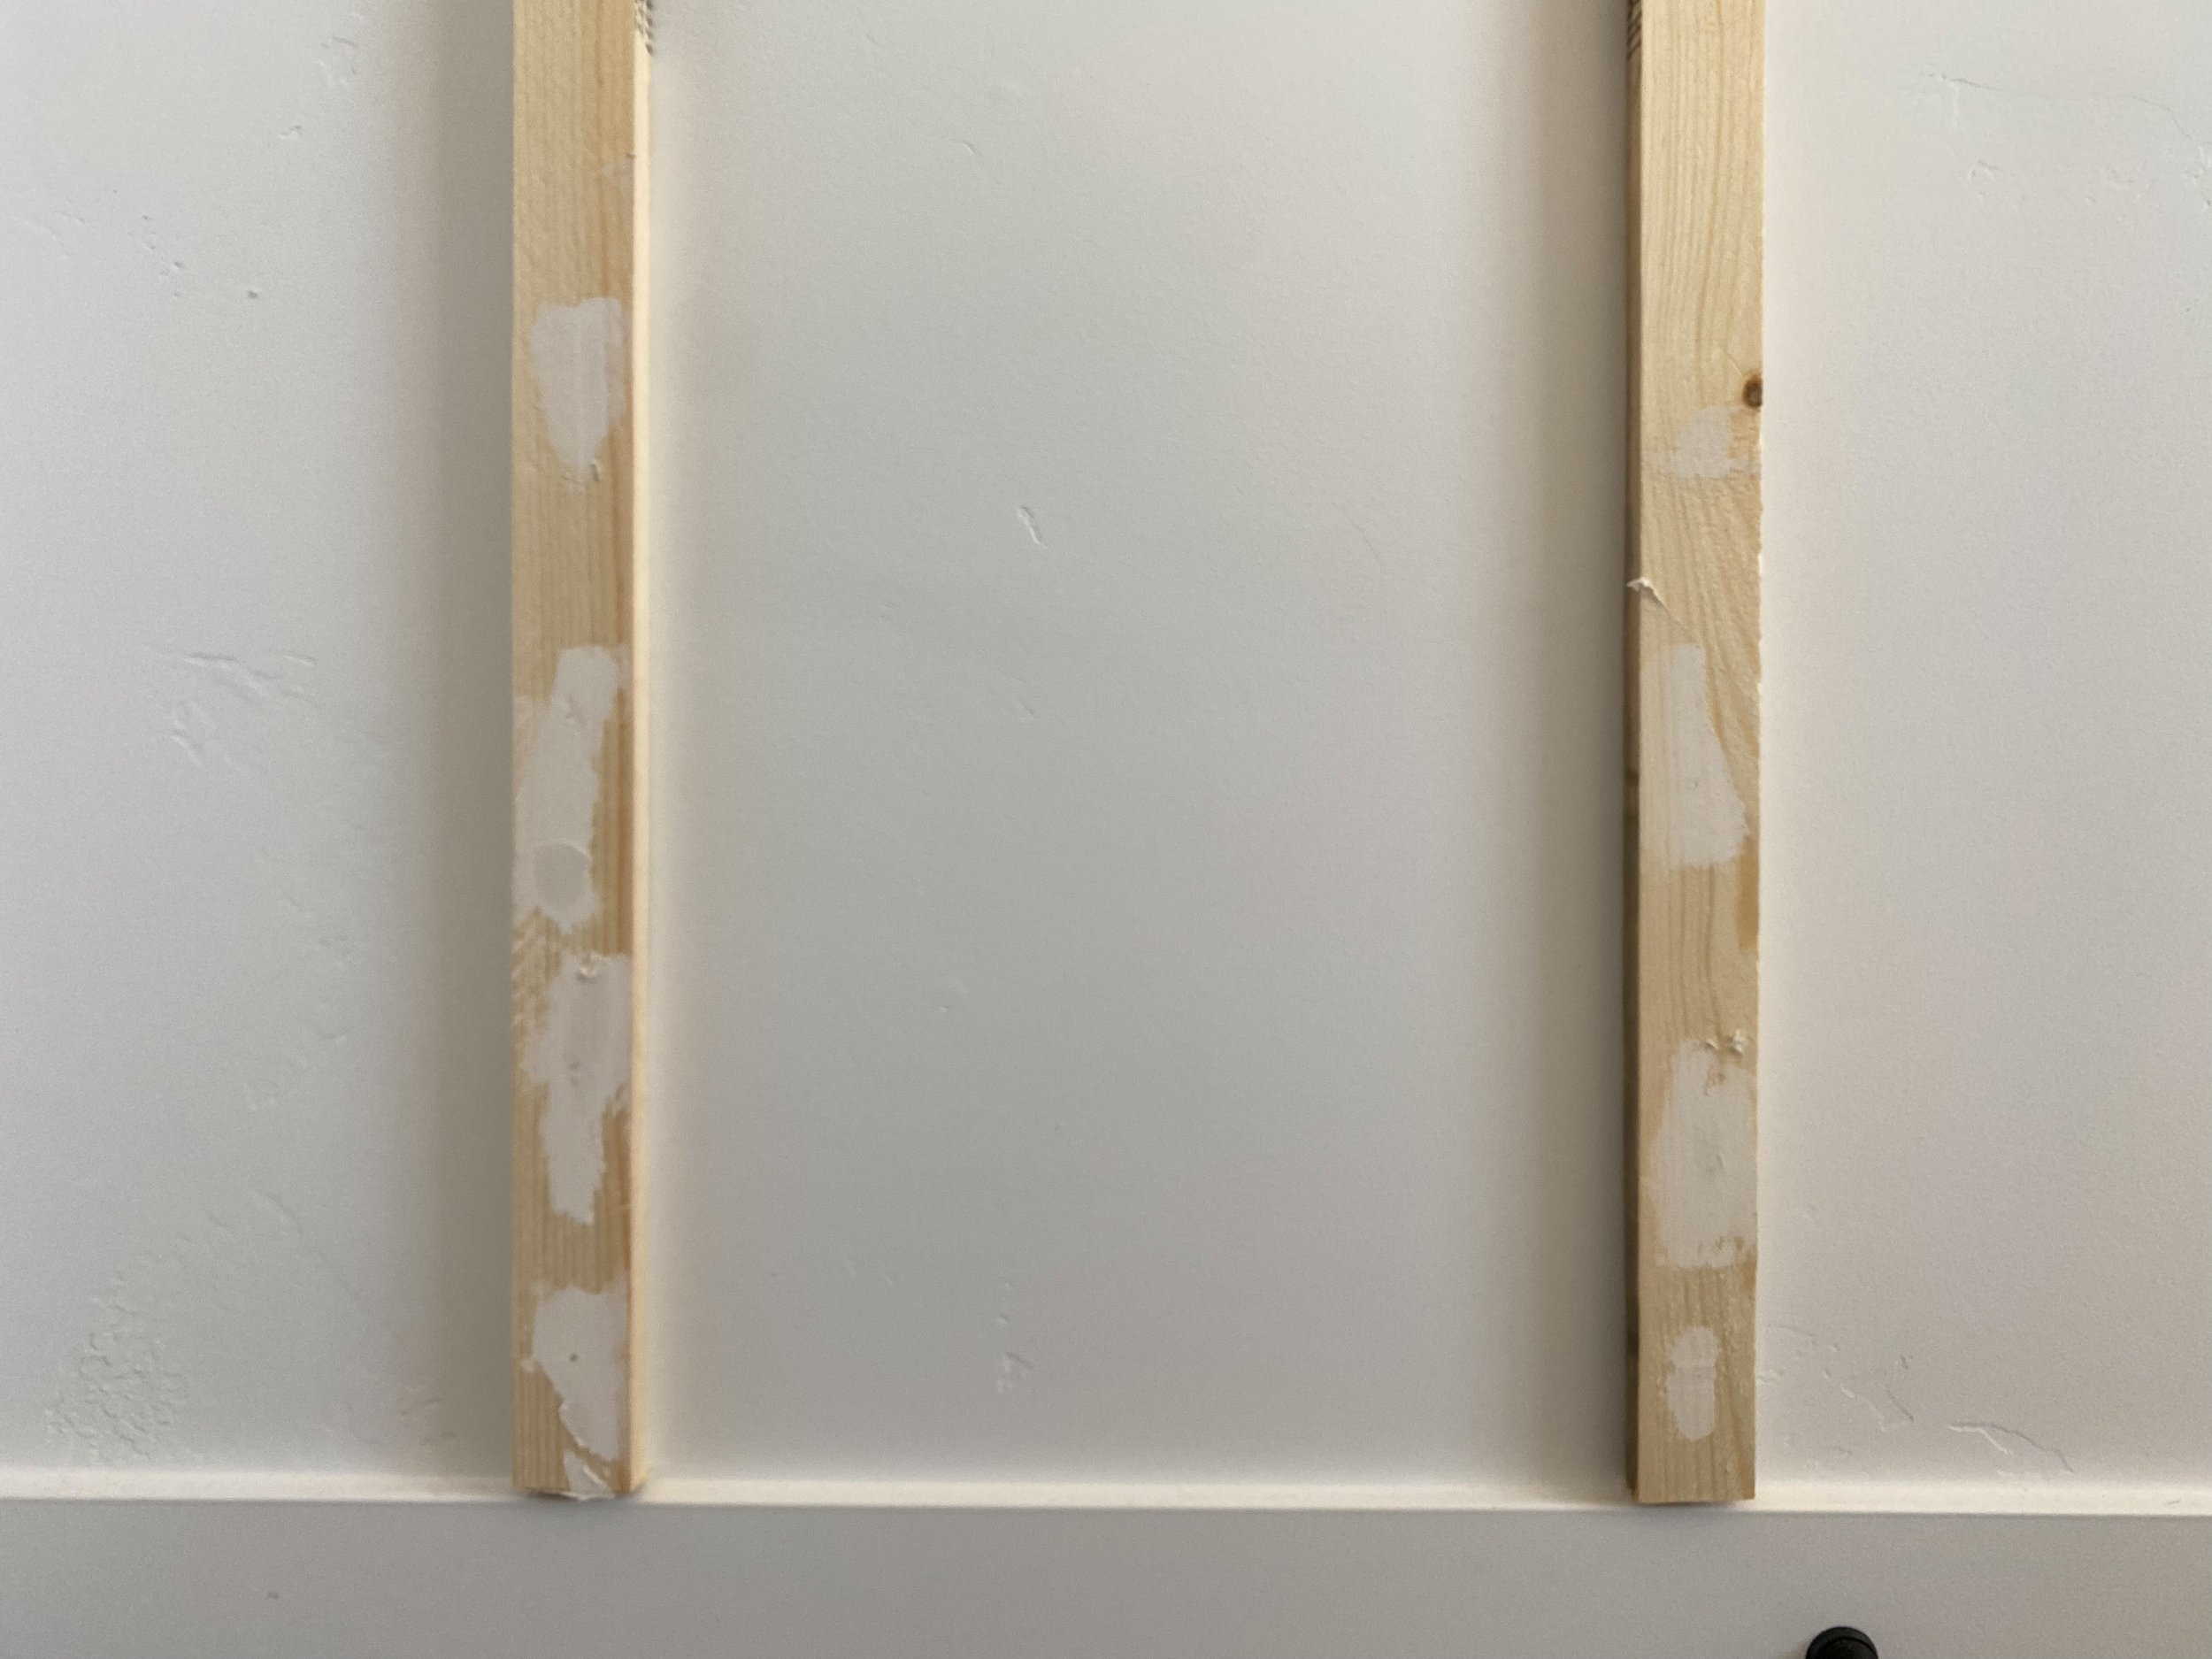
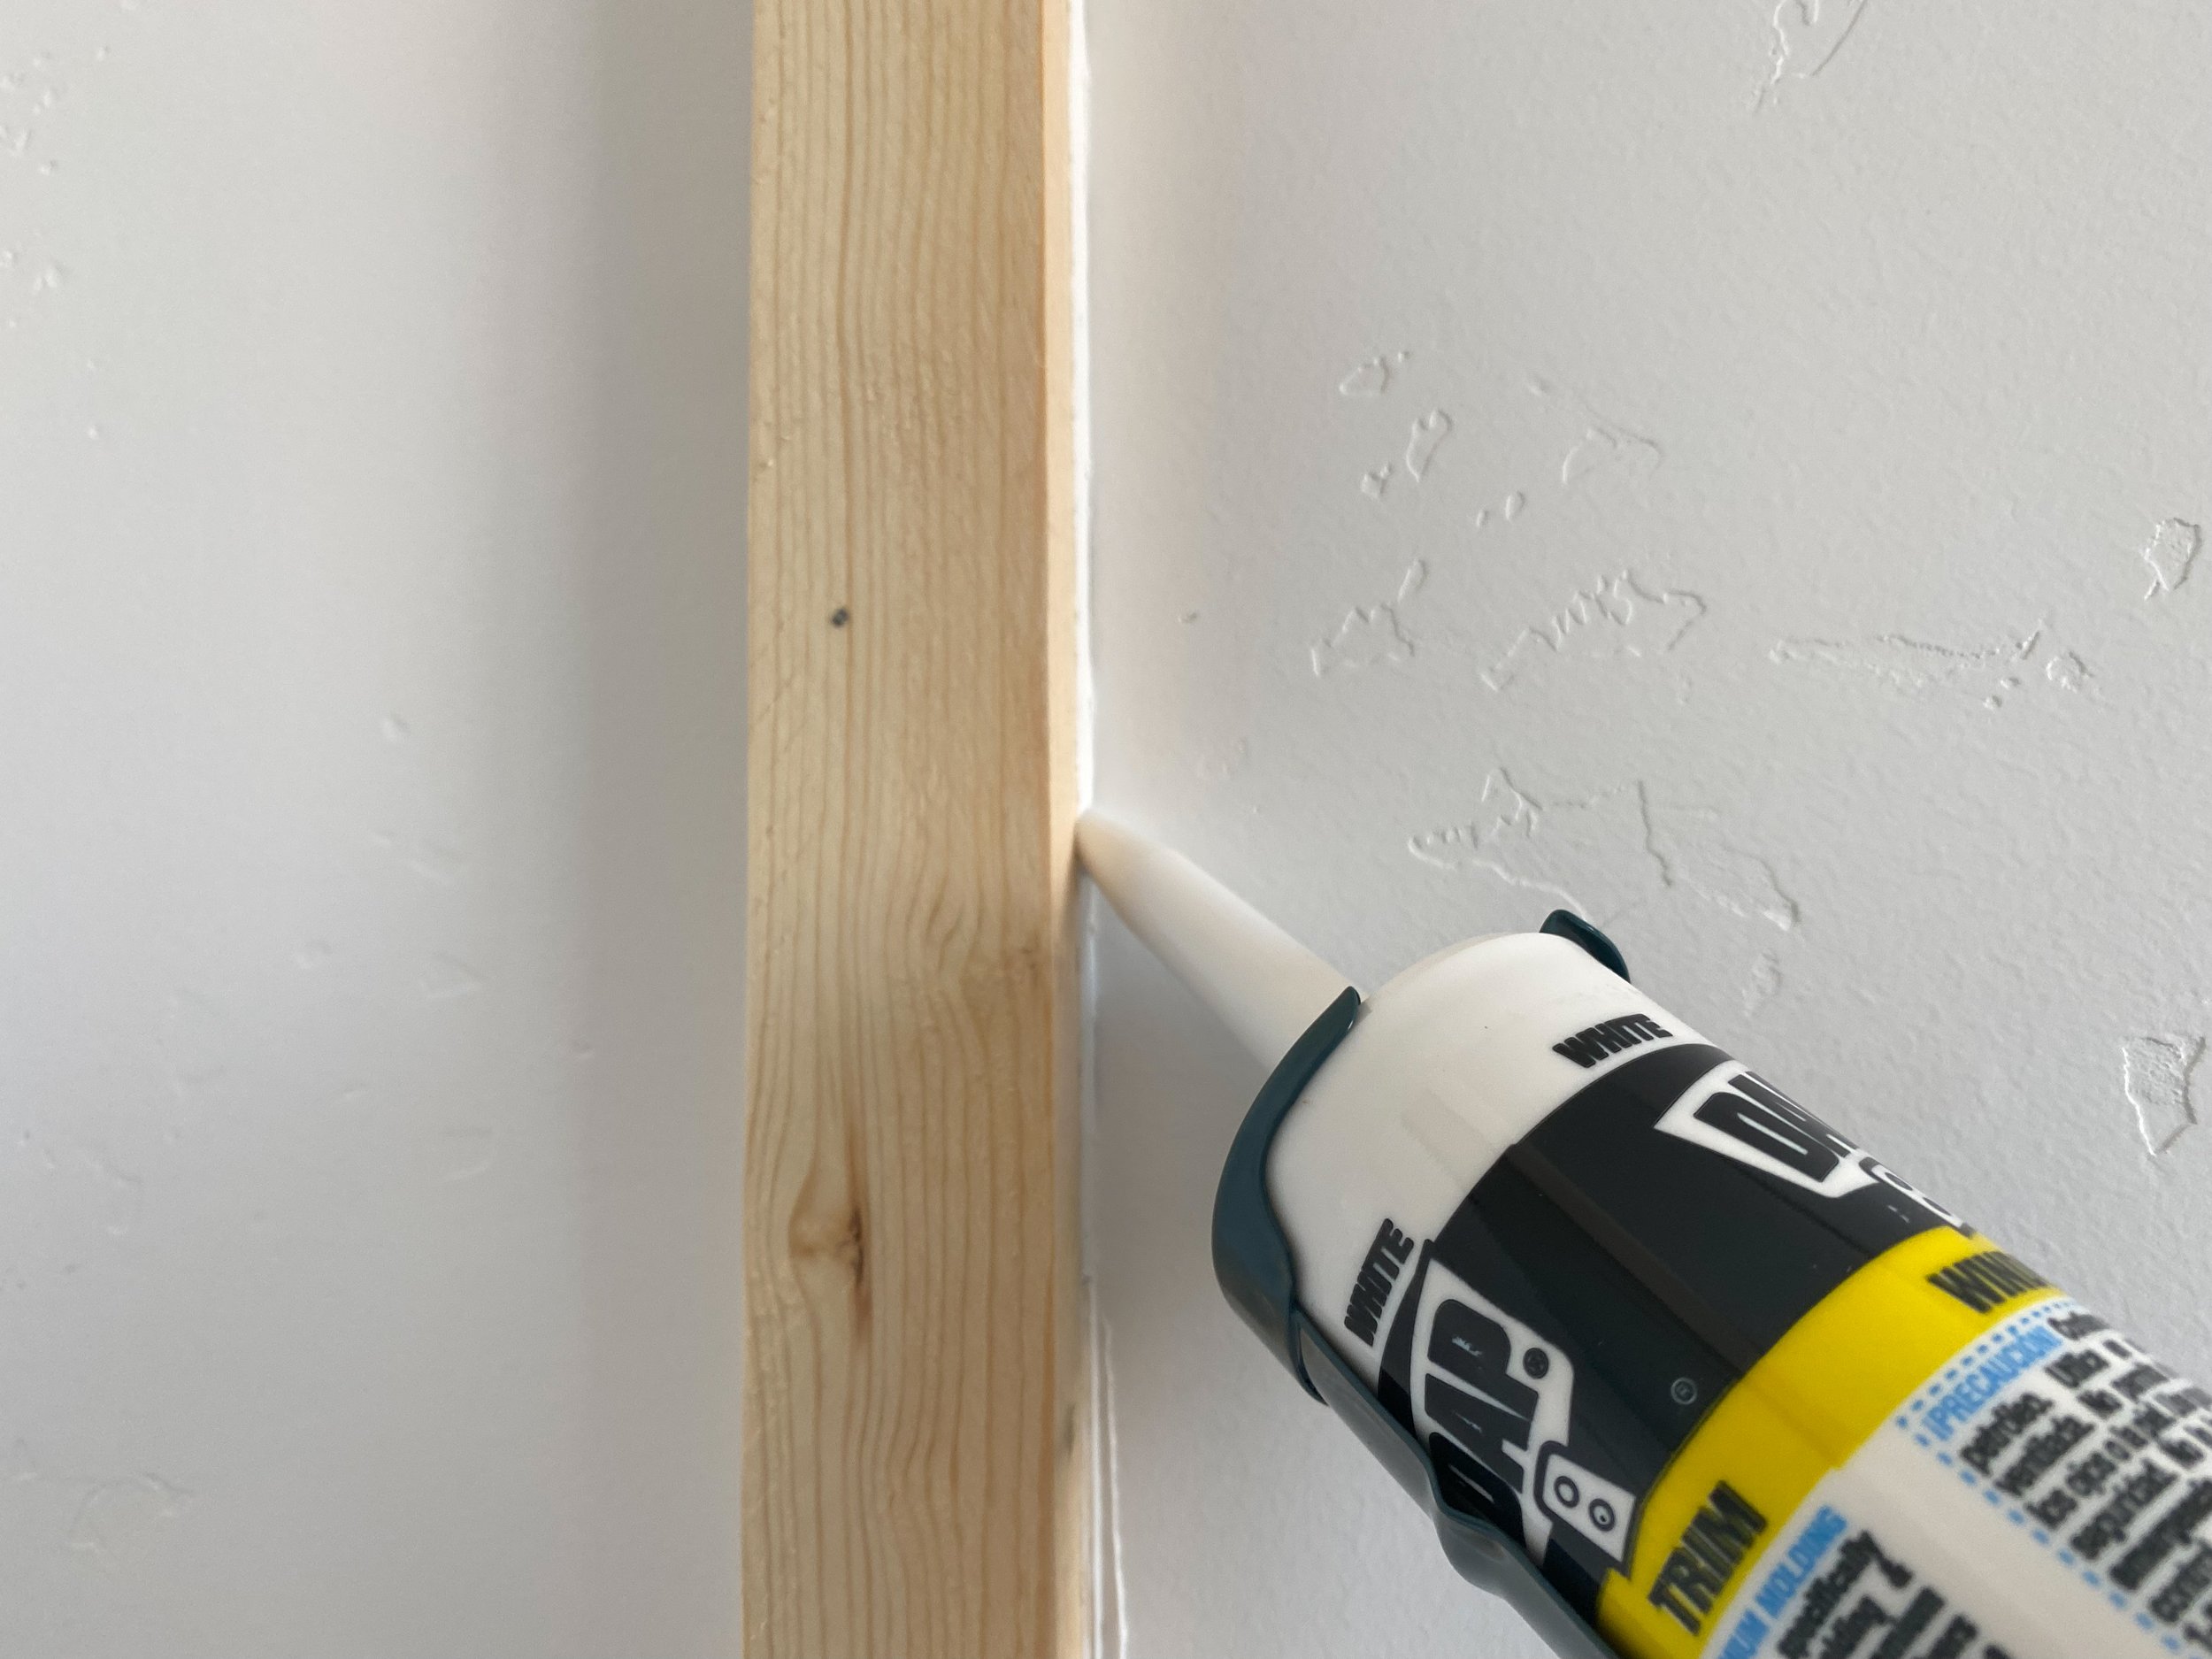
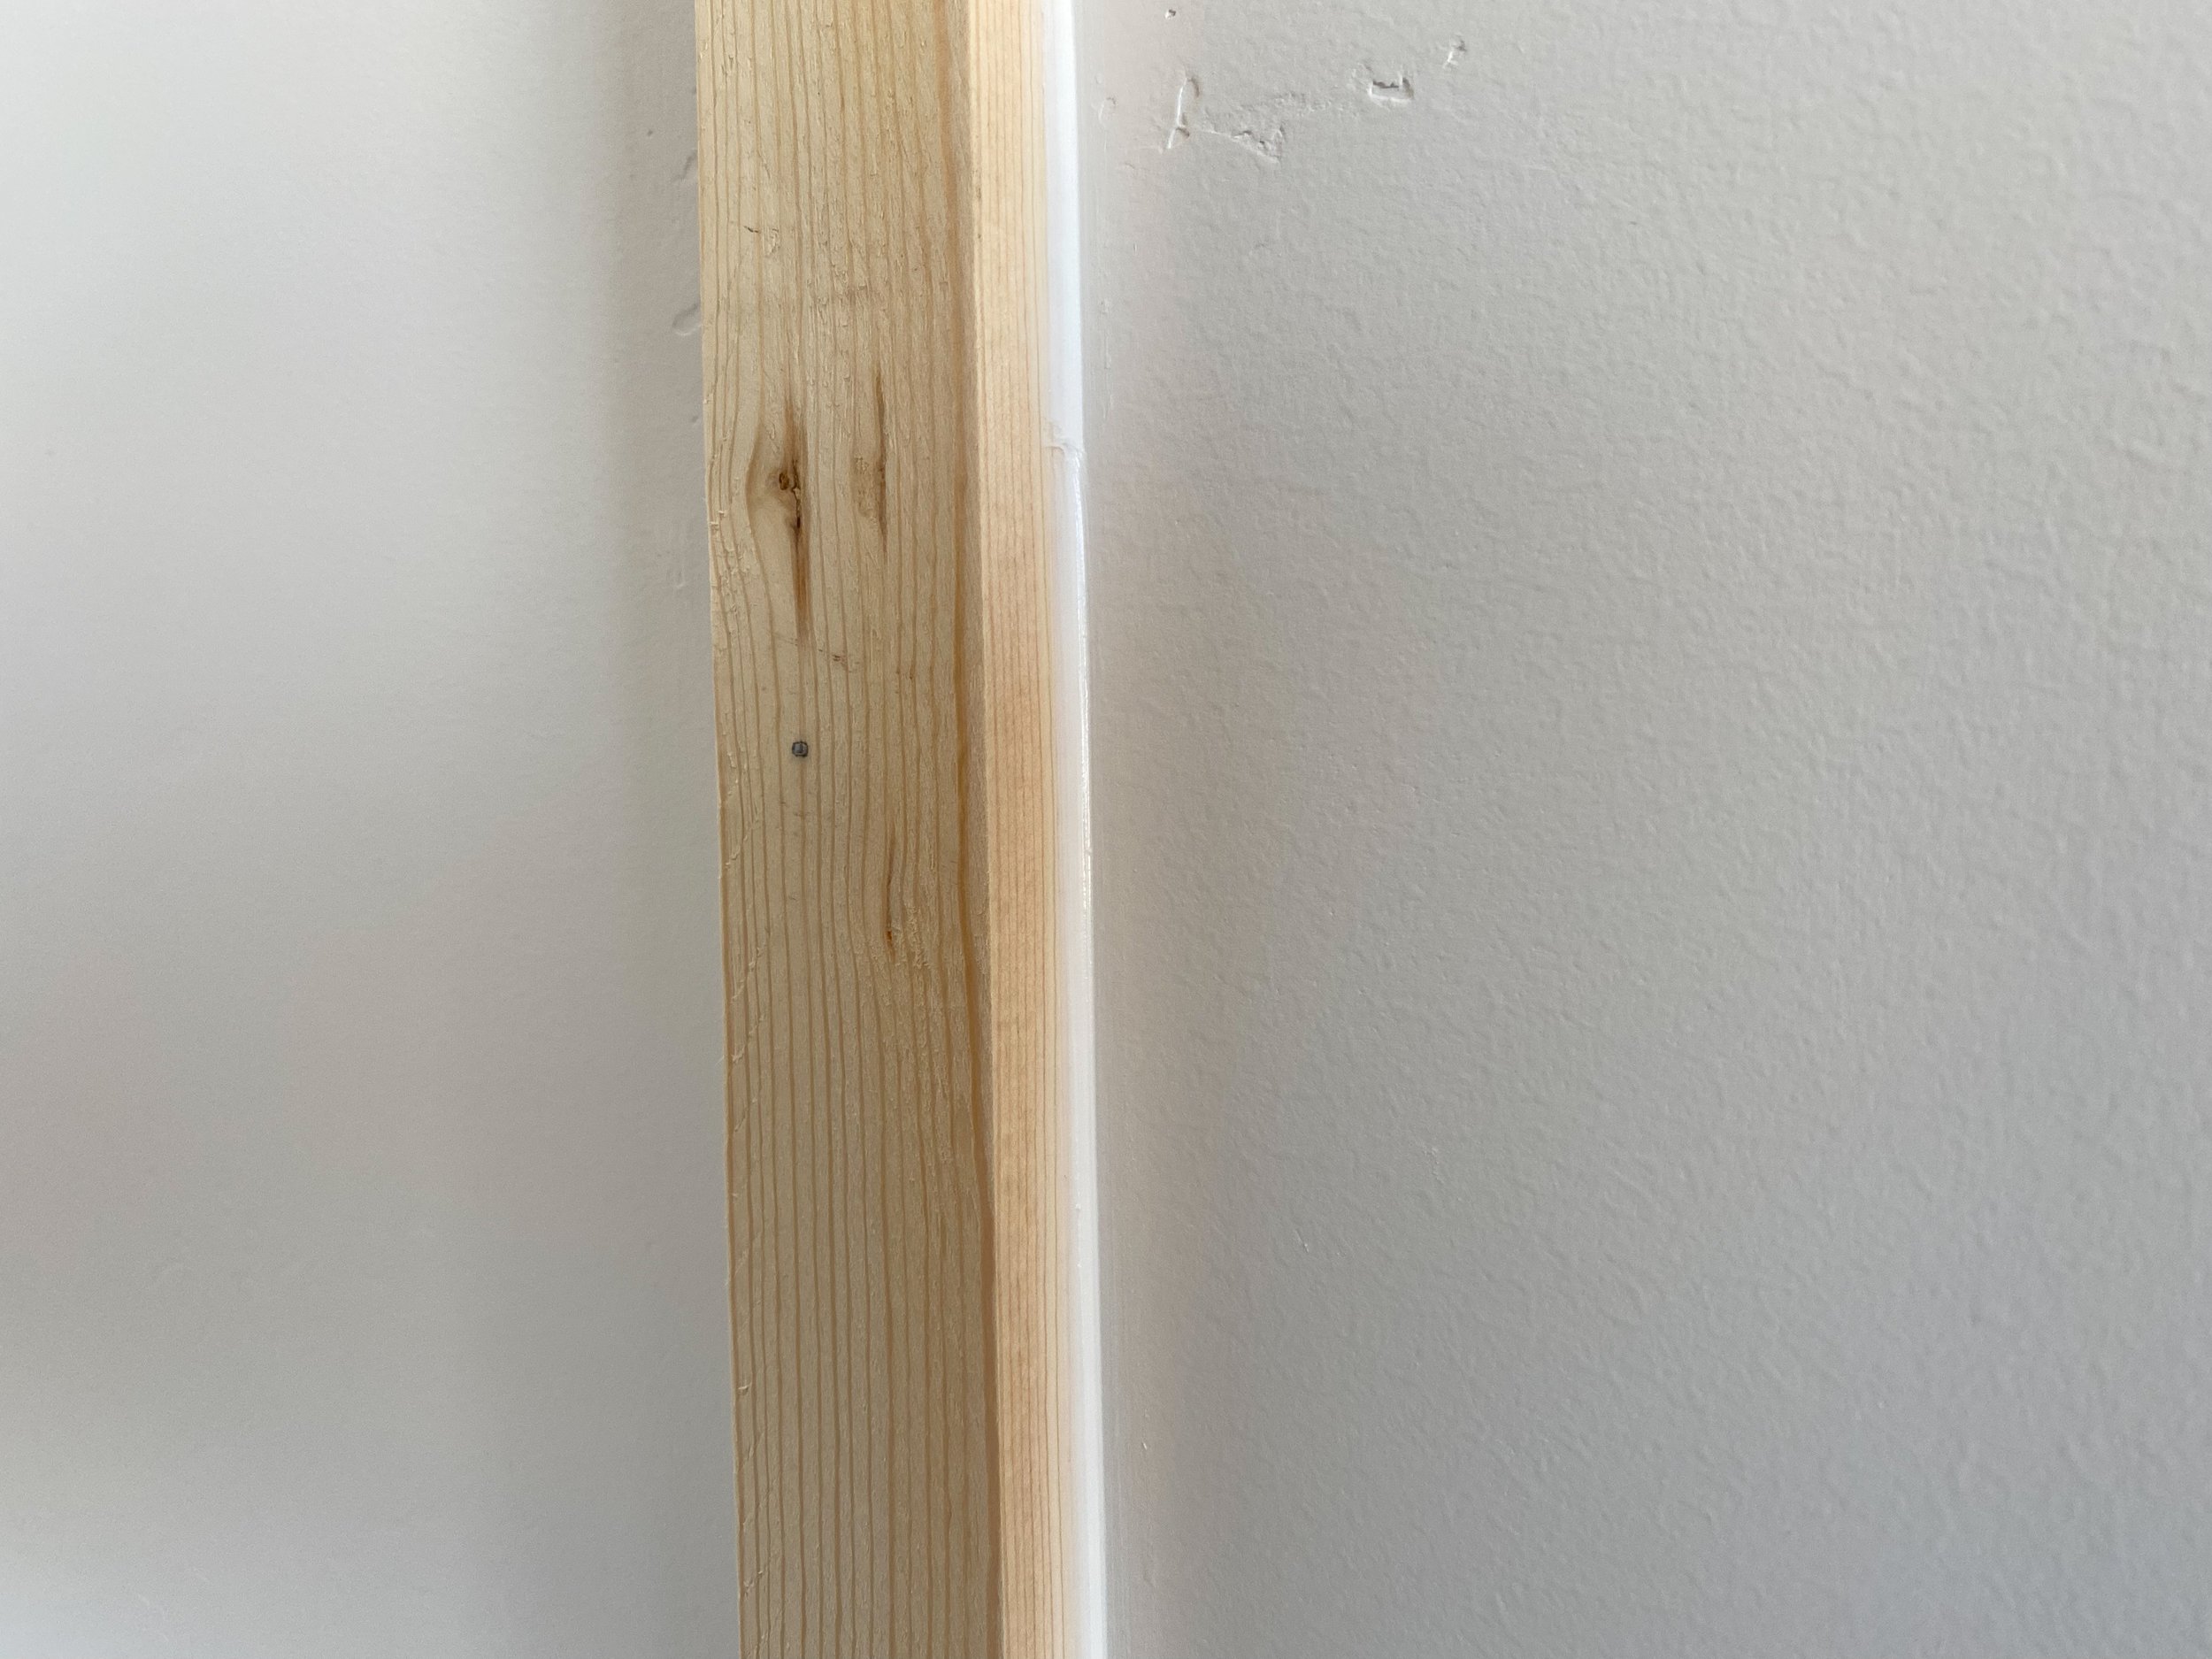
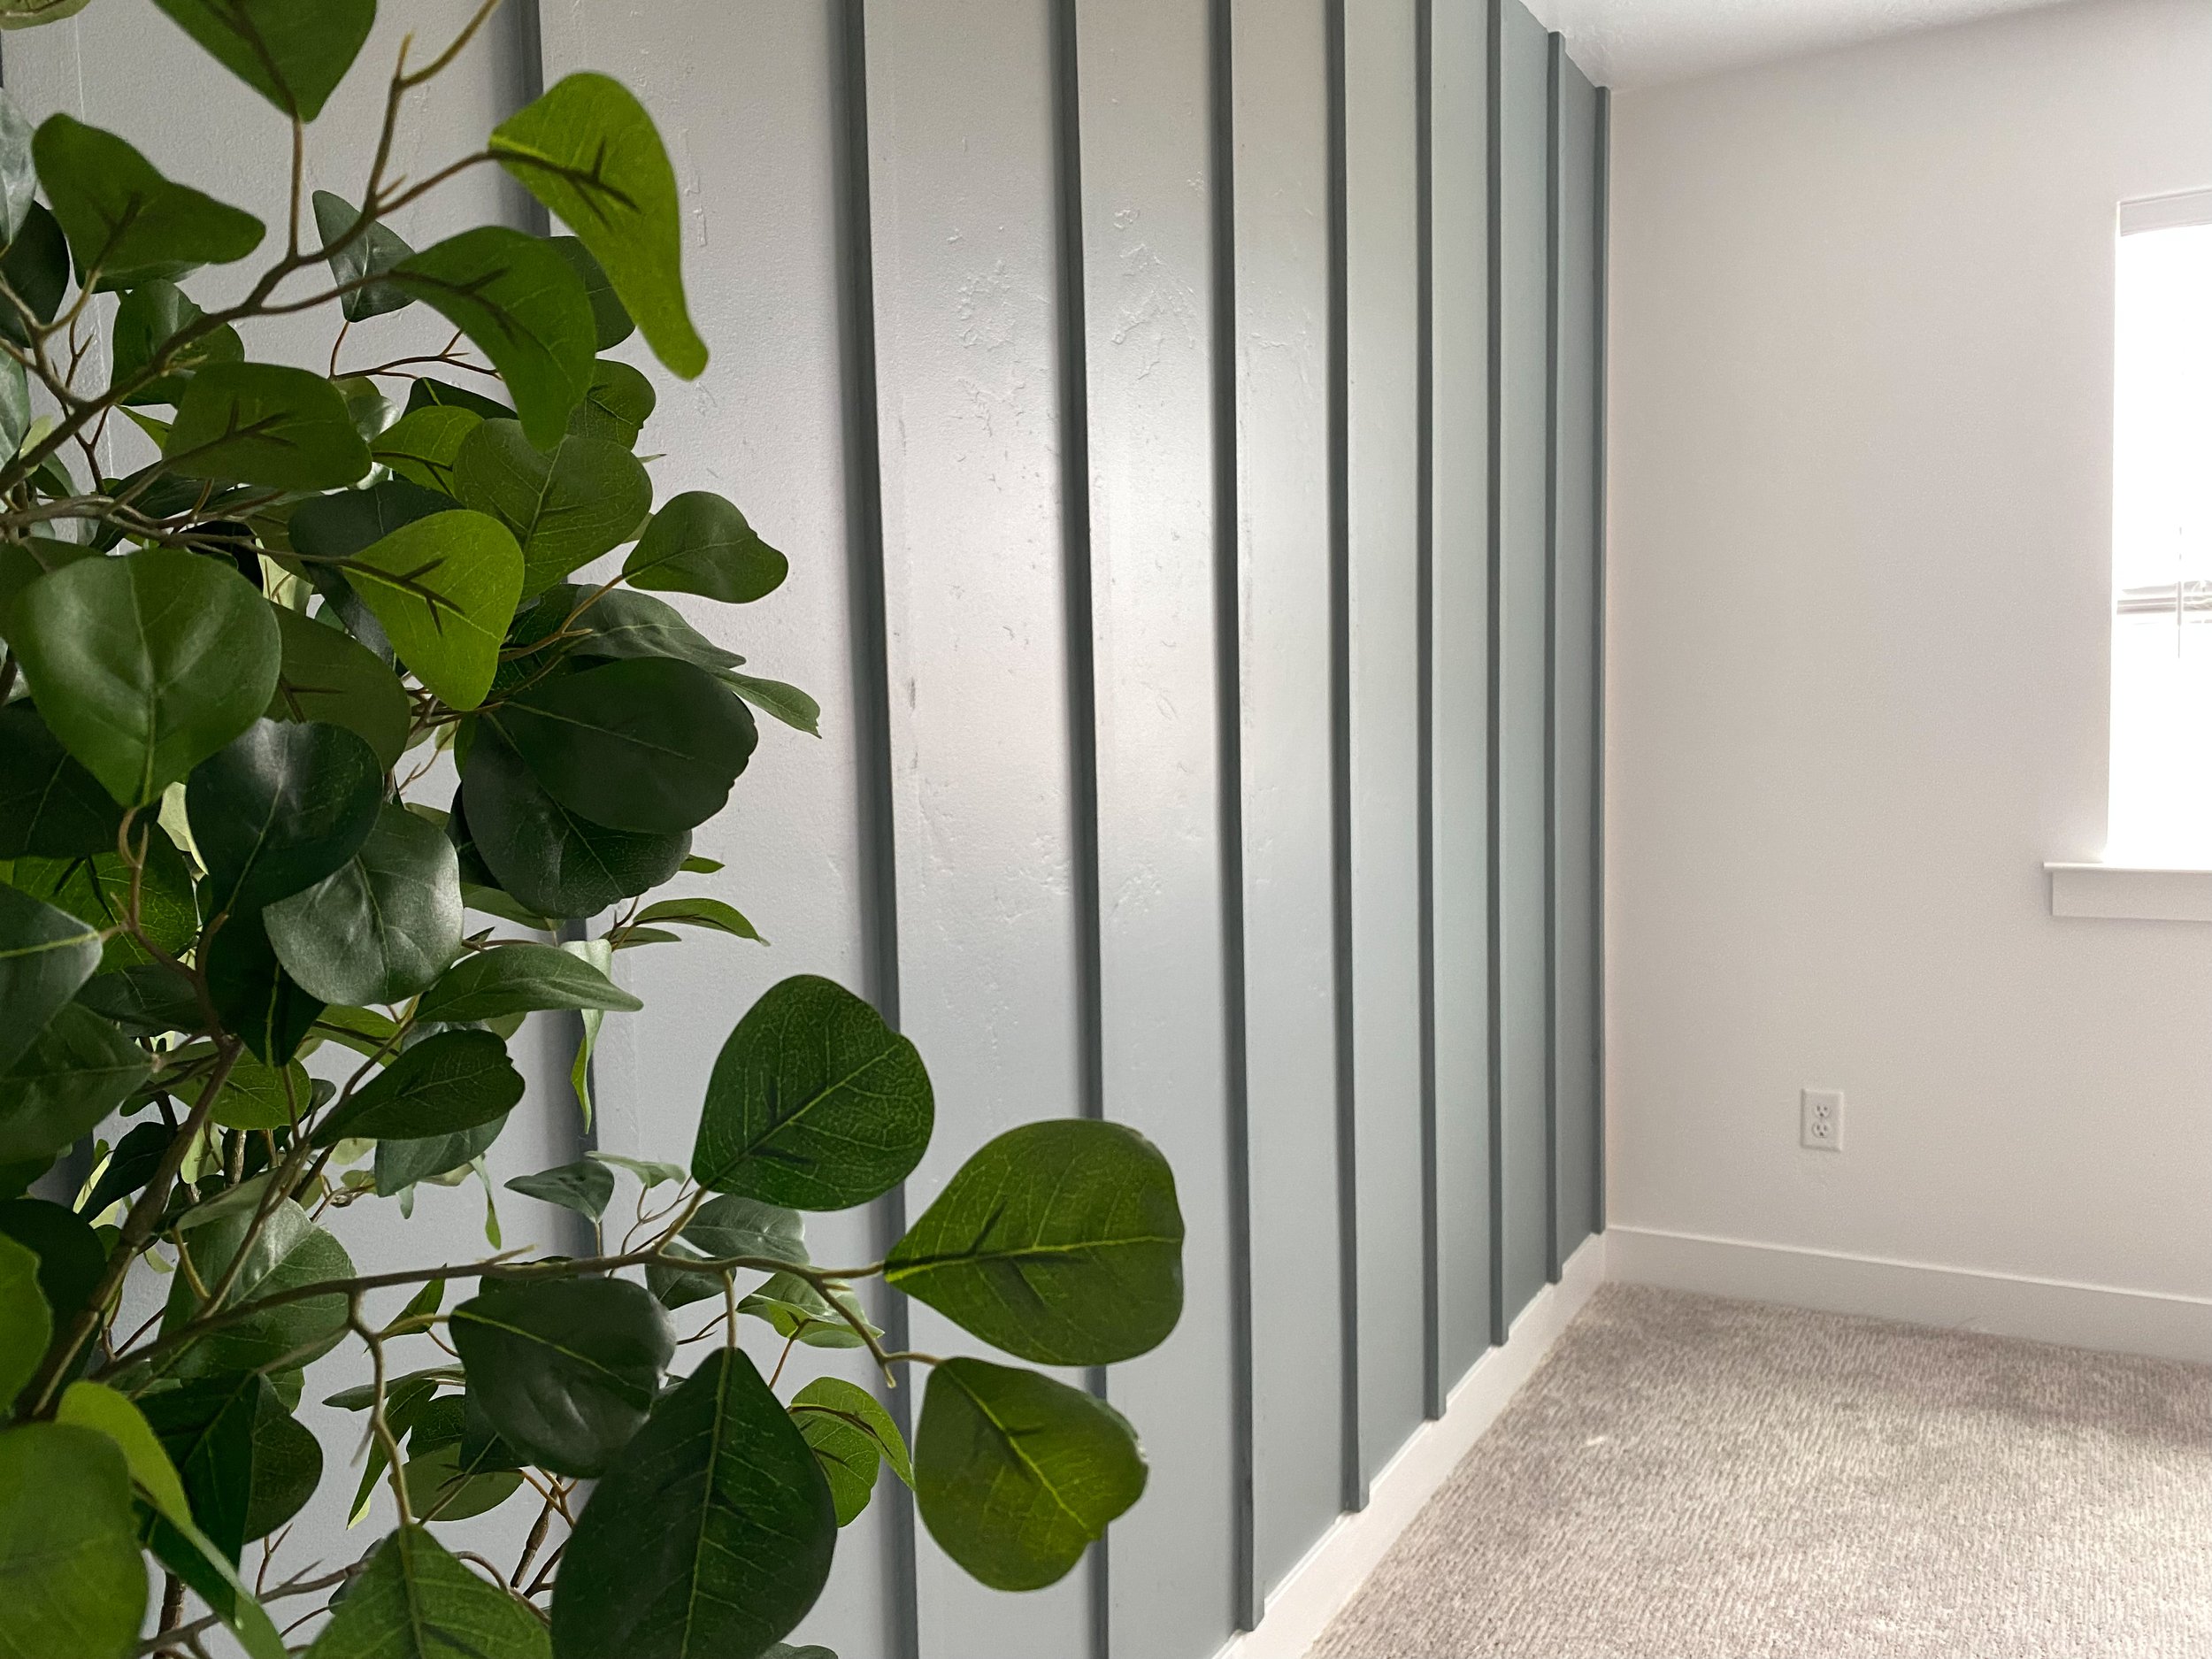
Next, fill in those nail holes with wood filler and add caulking to the sides. This made such a huge difference - just look at those photos on the bottom with before and after the caulking was added. I used my fingers to smooth it out all the way down. Most people said to use baby wipes but honestly my finger worked way better.
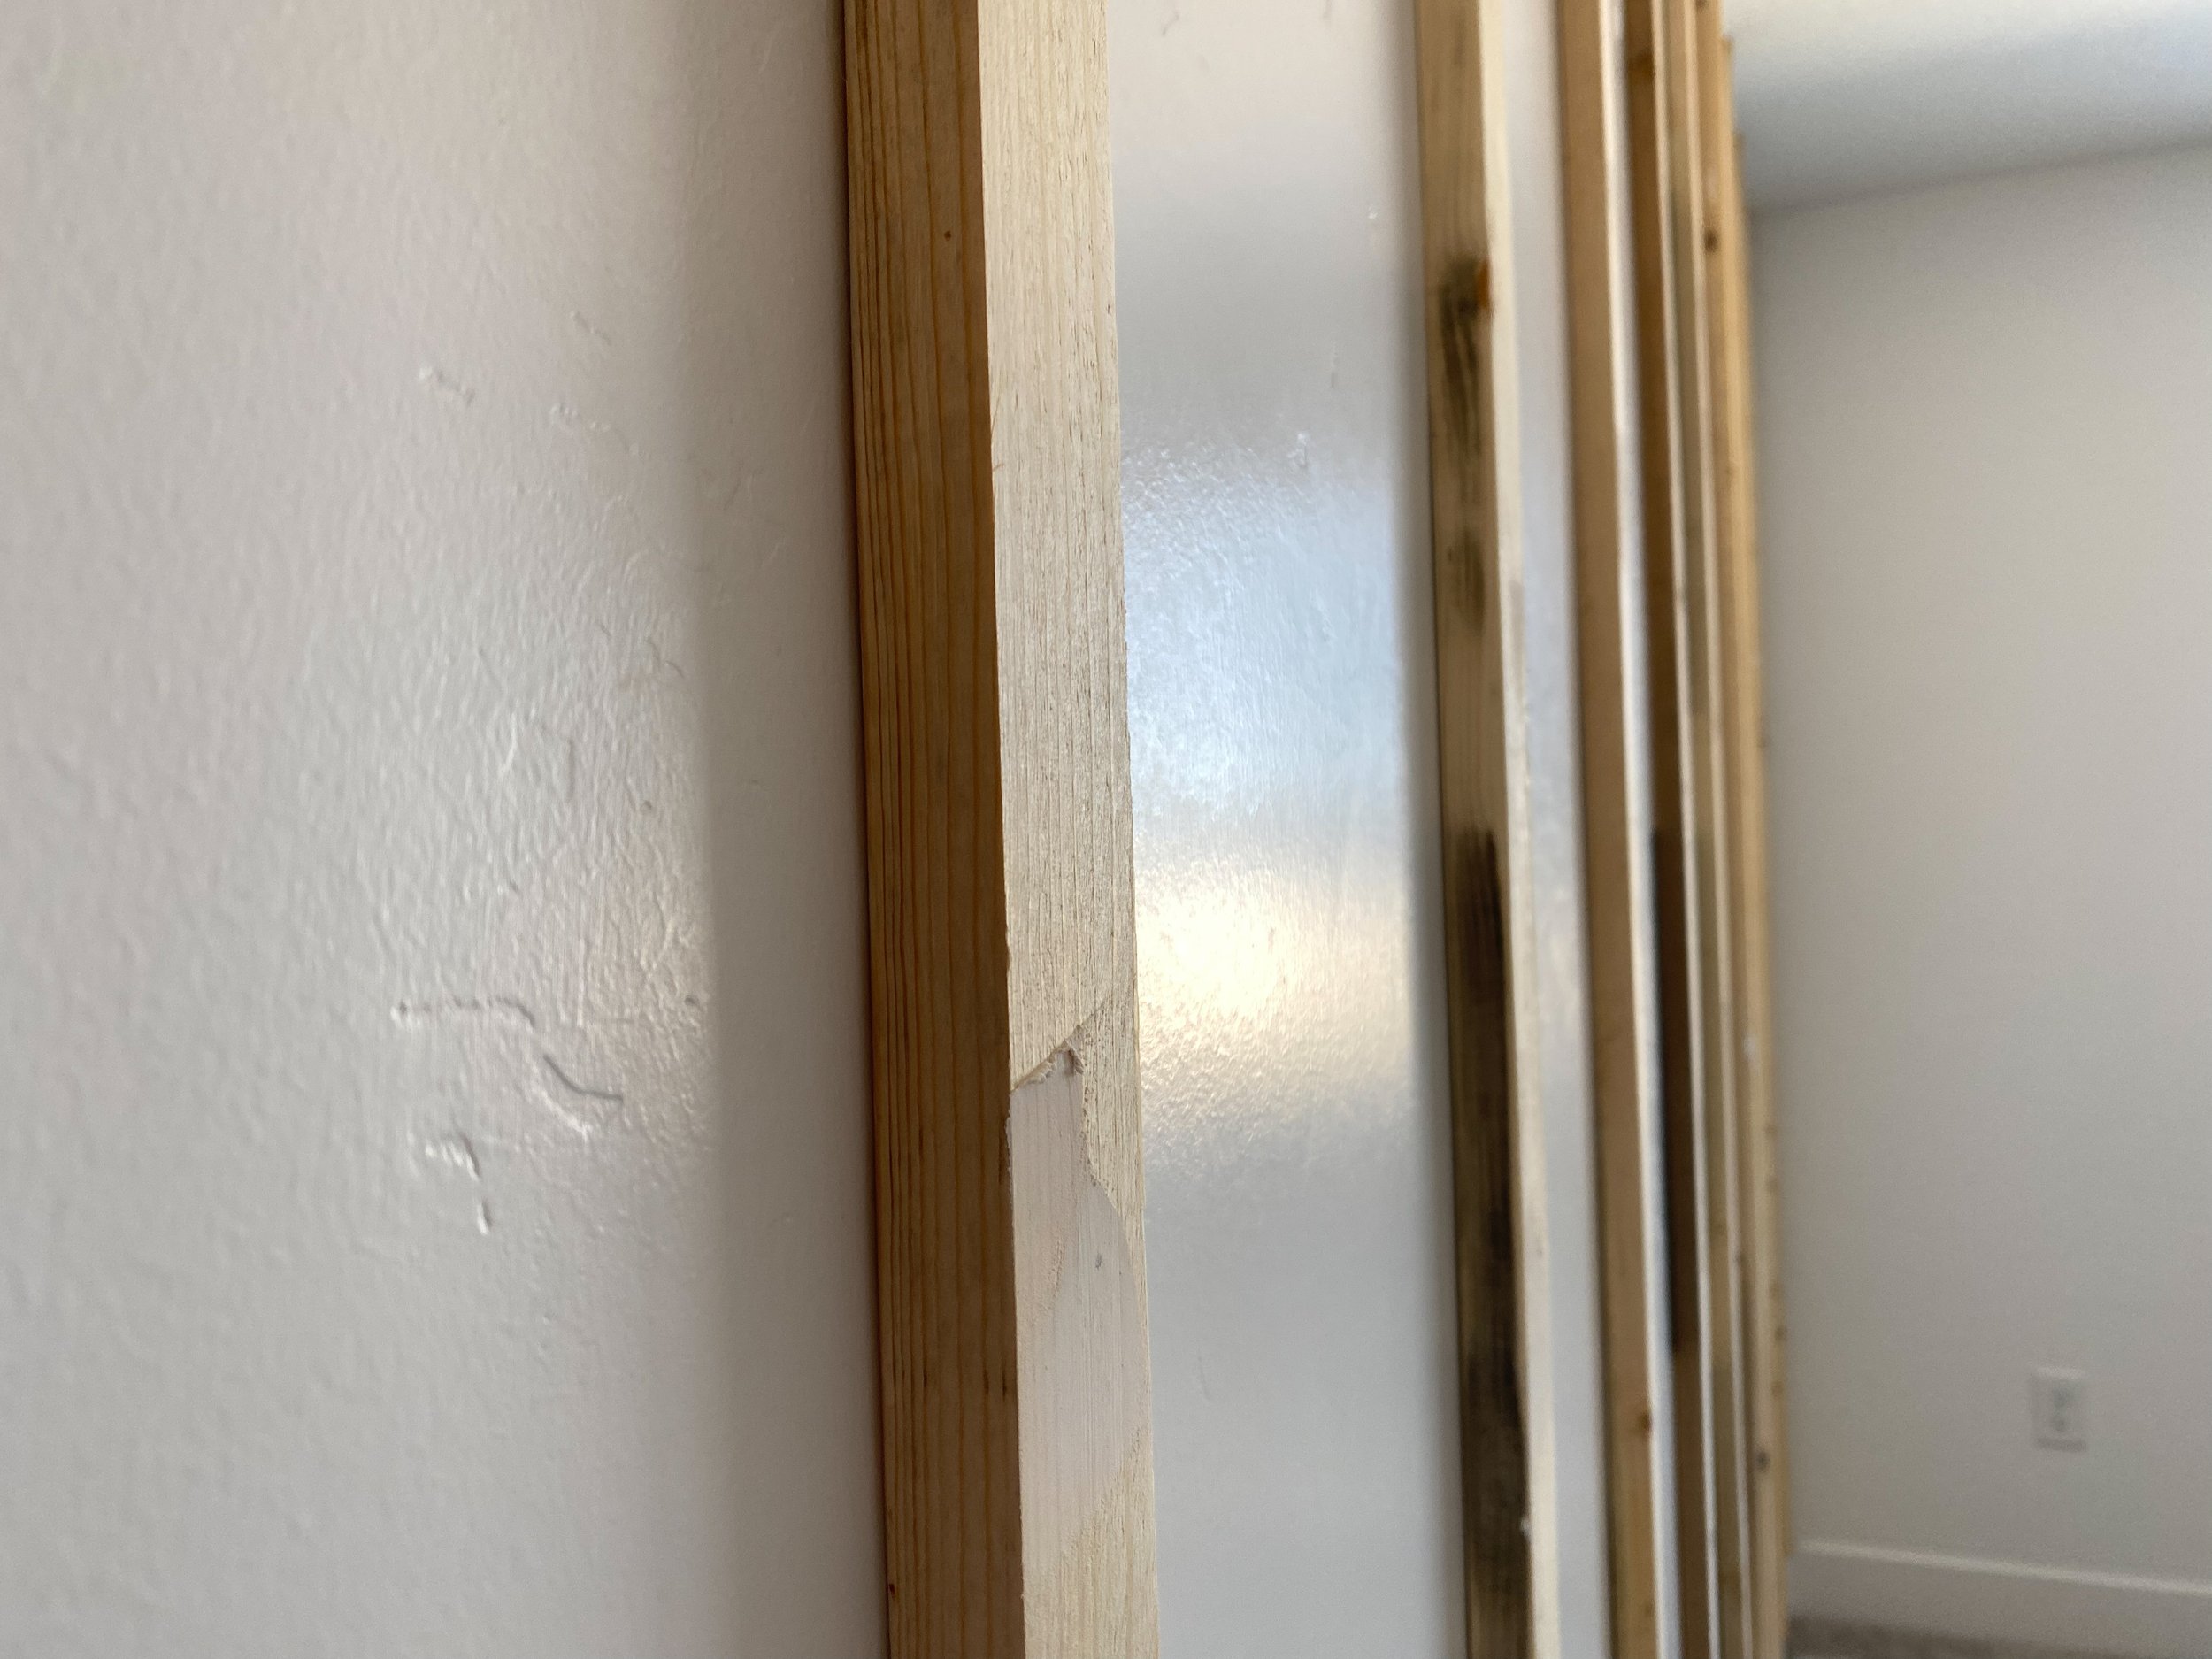
And your final step before painting is sanding. Sand all of that wood filler down and make those boards nice and smooth like a baby’s bum. I even rounded the corners out a little bit since this is the wall the crib will be up against and I just figured smoother was better for a baby’s room and I guess, really for any room!
Once you’re done sanding, make sure you use a towel to brush off all of that excess dust or it'll get all up in your paint and definitely won’t turn out smooth.
And lastly, get that paint up and voila, you’re done! I’ve still got some little touch ups to do on here along those lines (because I opted not to tape) but this is two coats all done today and gosh love how it turned out.
What do you think?? I can’t wait to start getting all of that nursery furniture in here and of course I’ll take you along every step of the way!
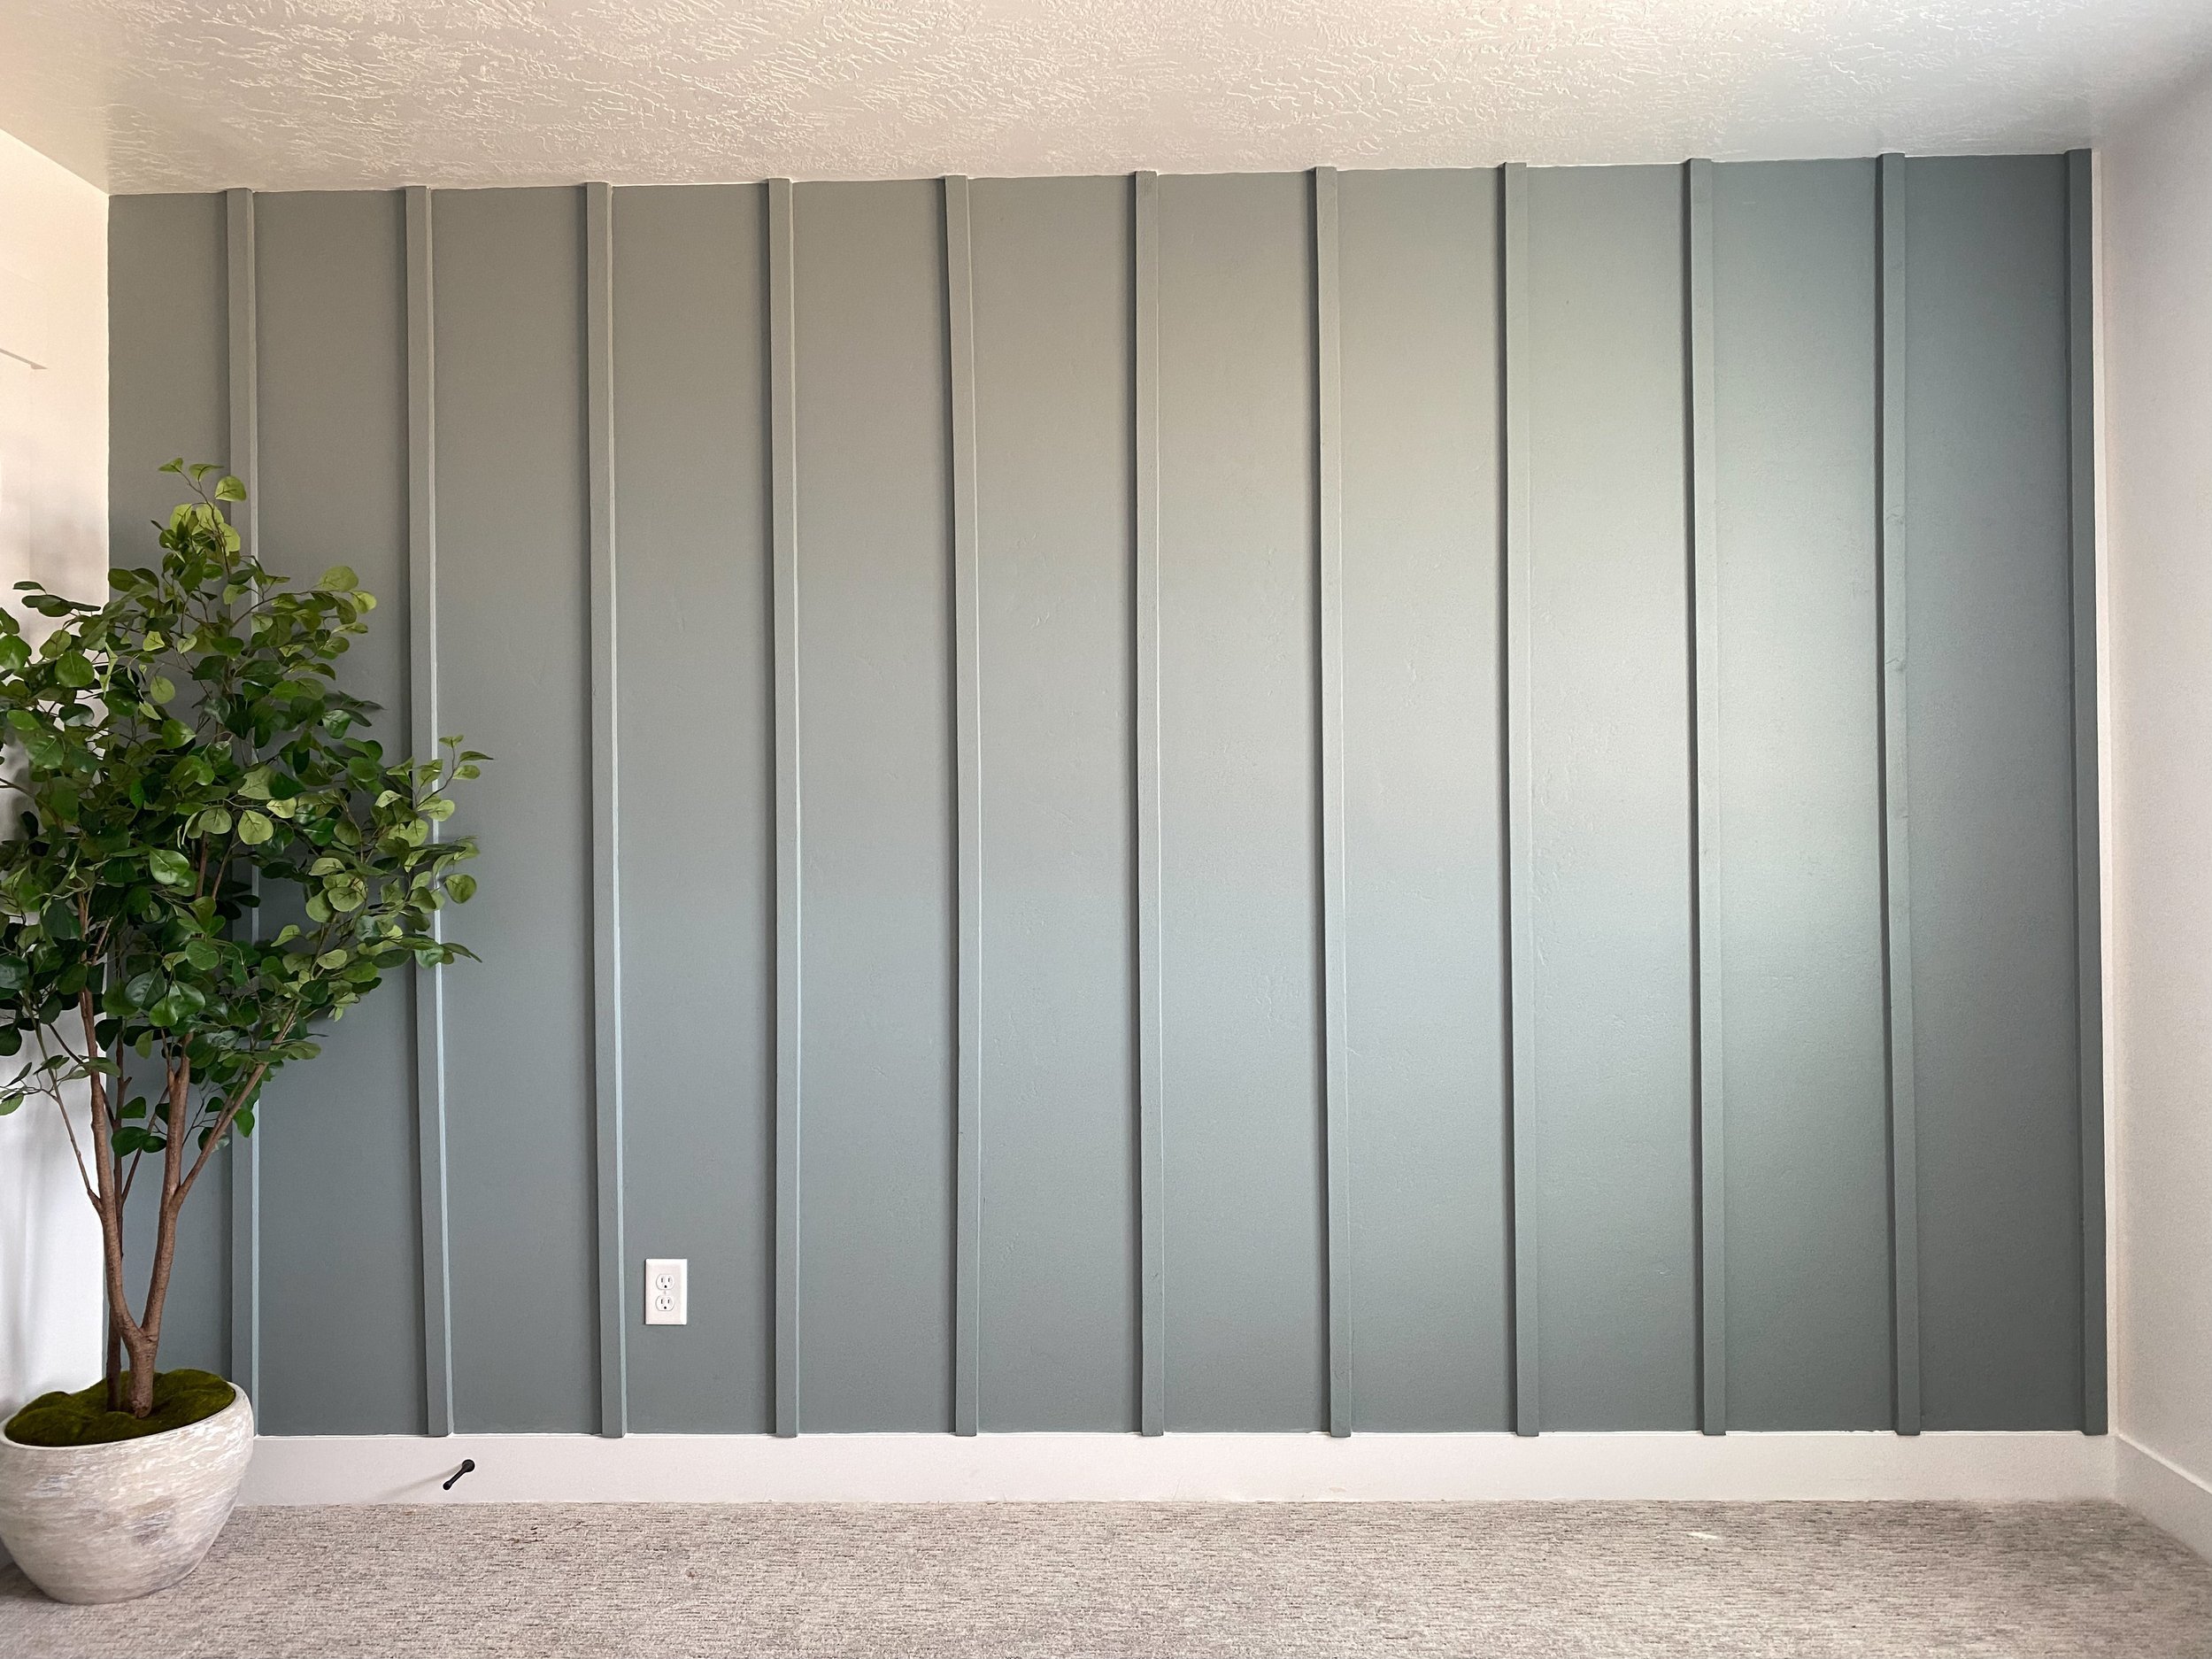
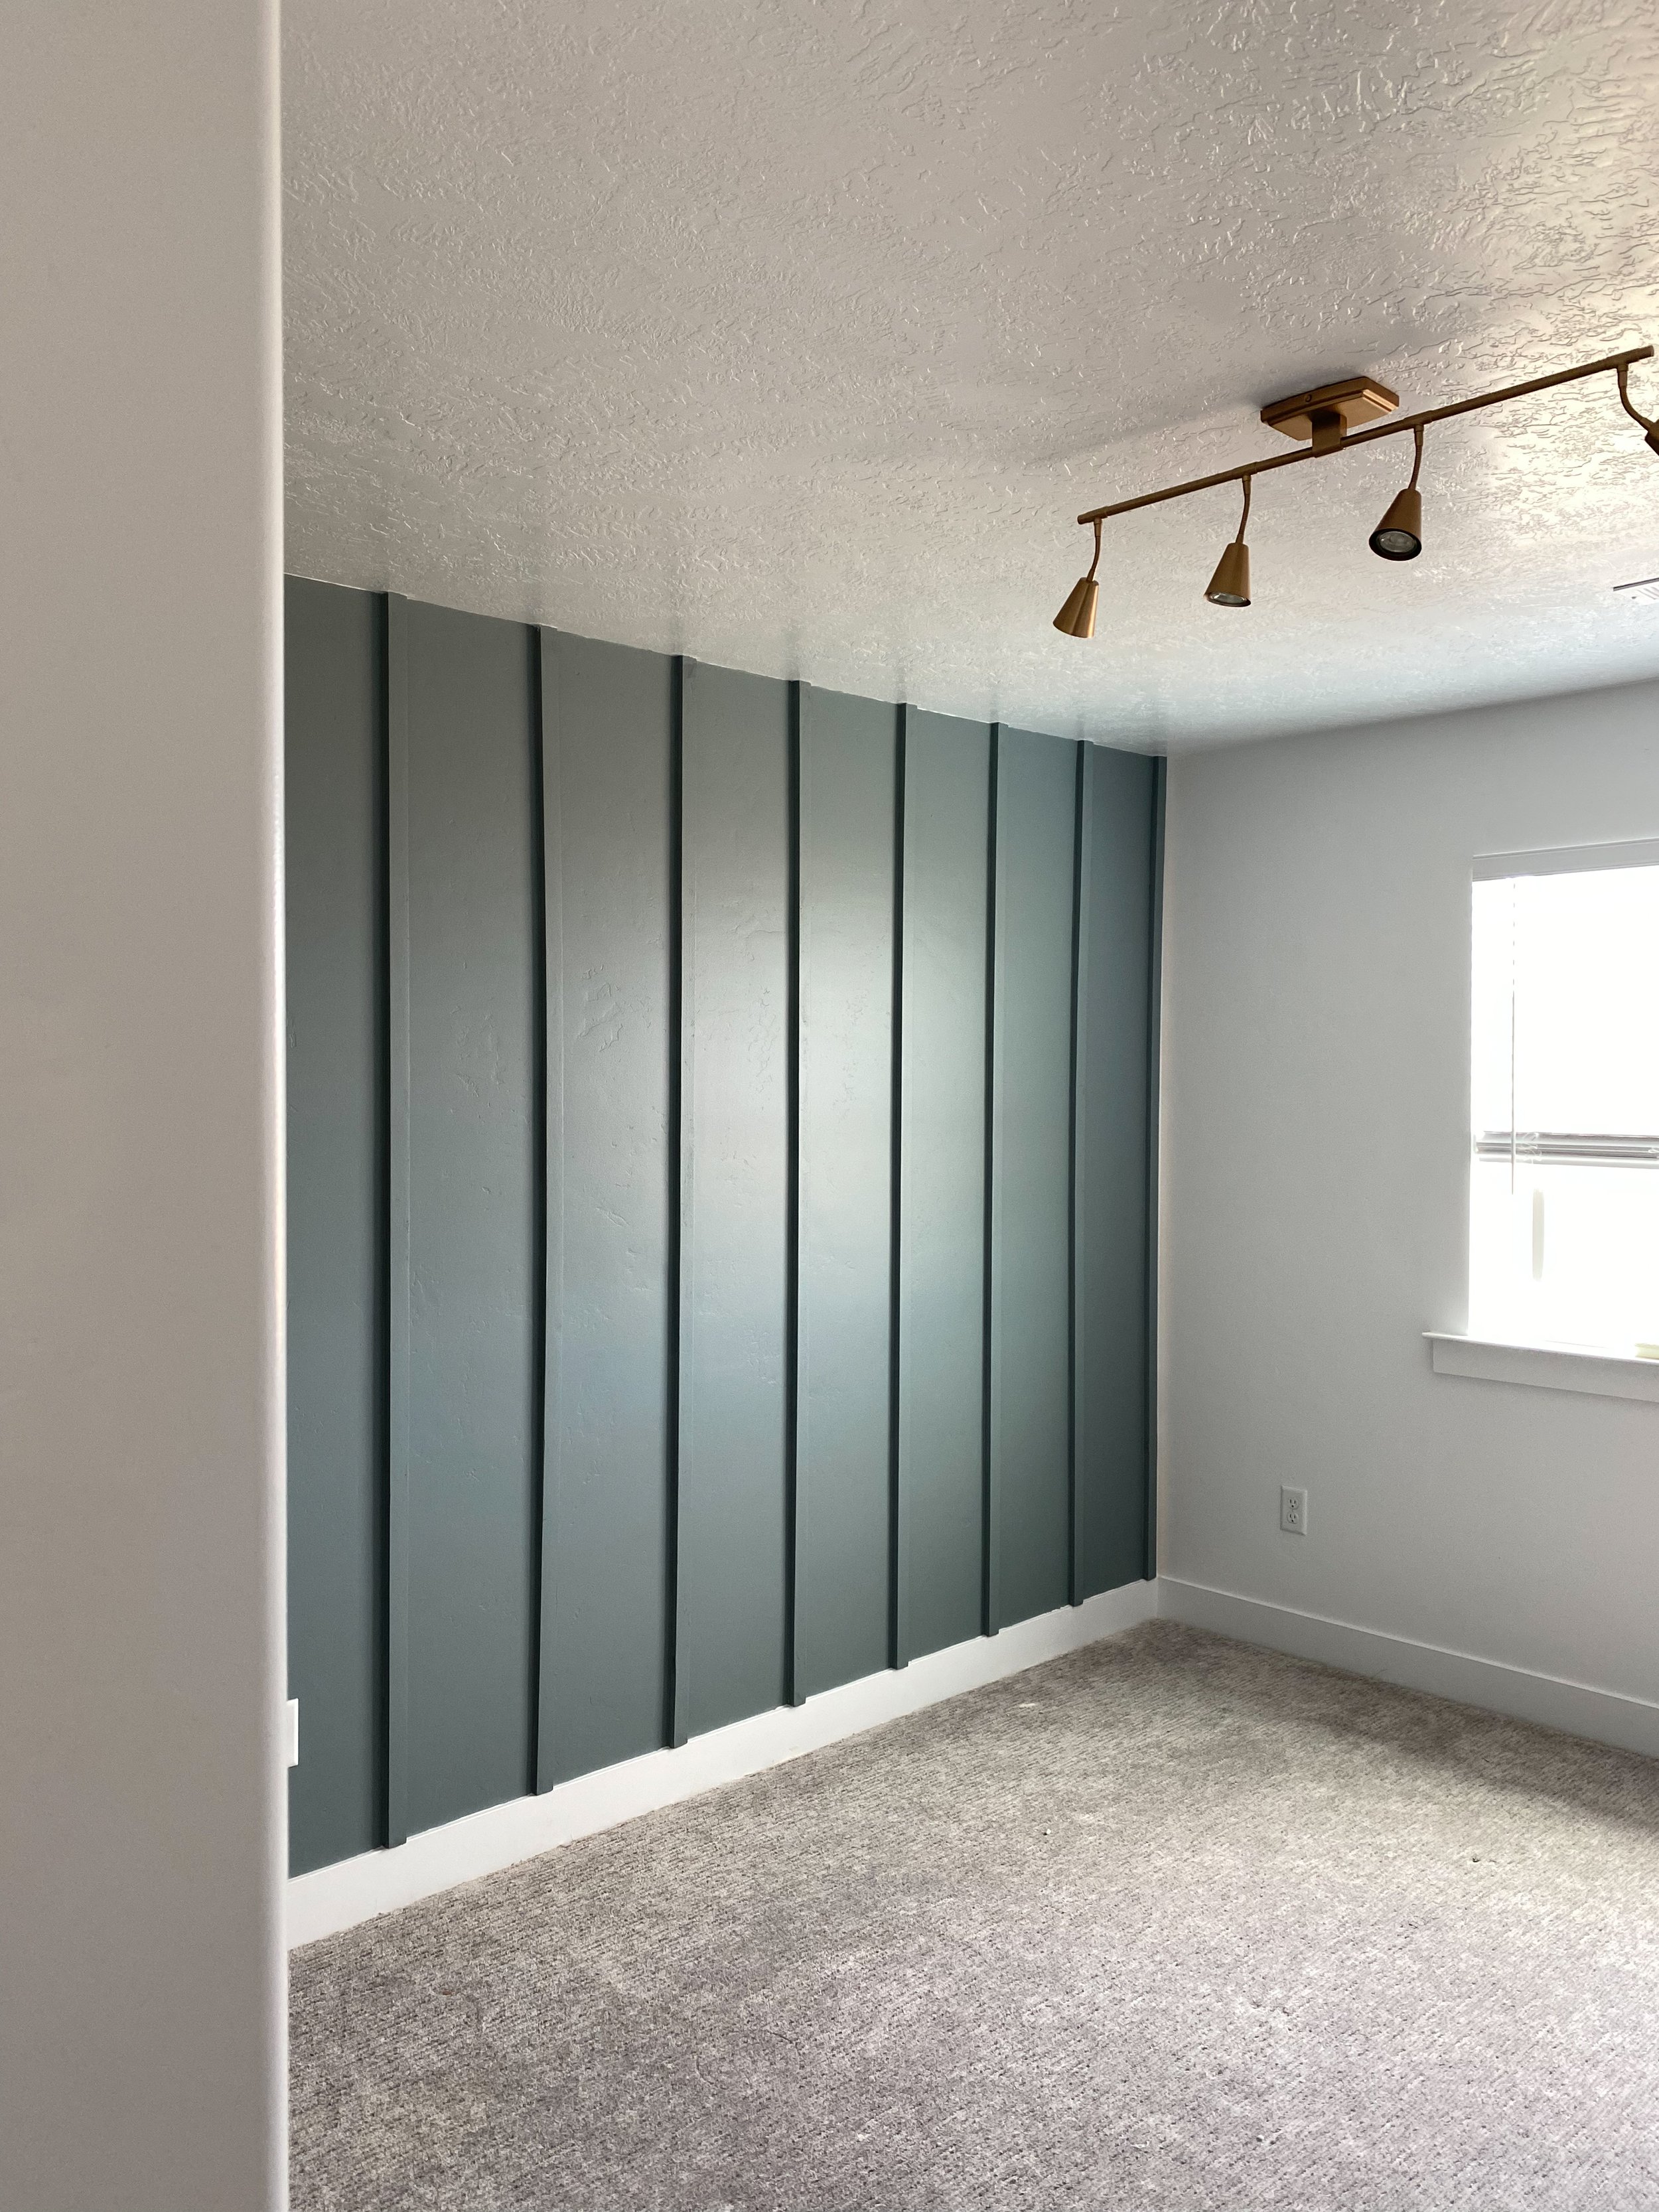
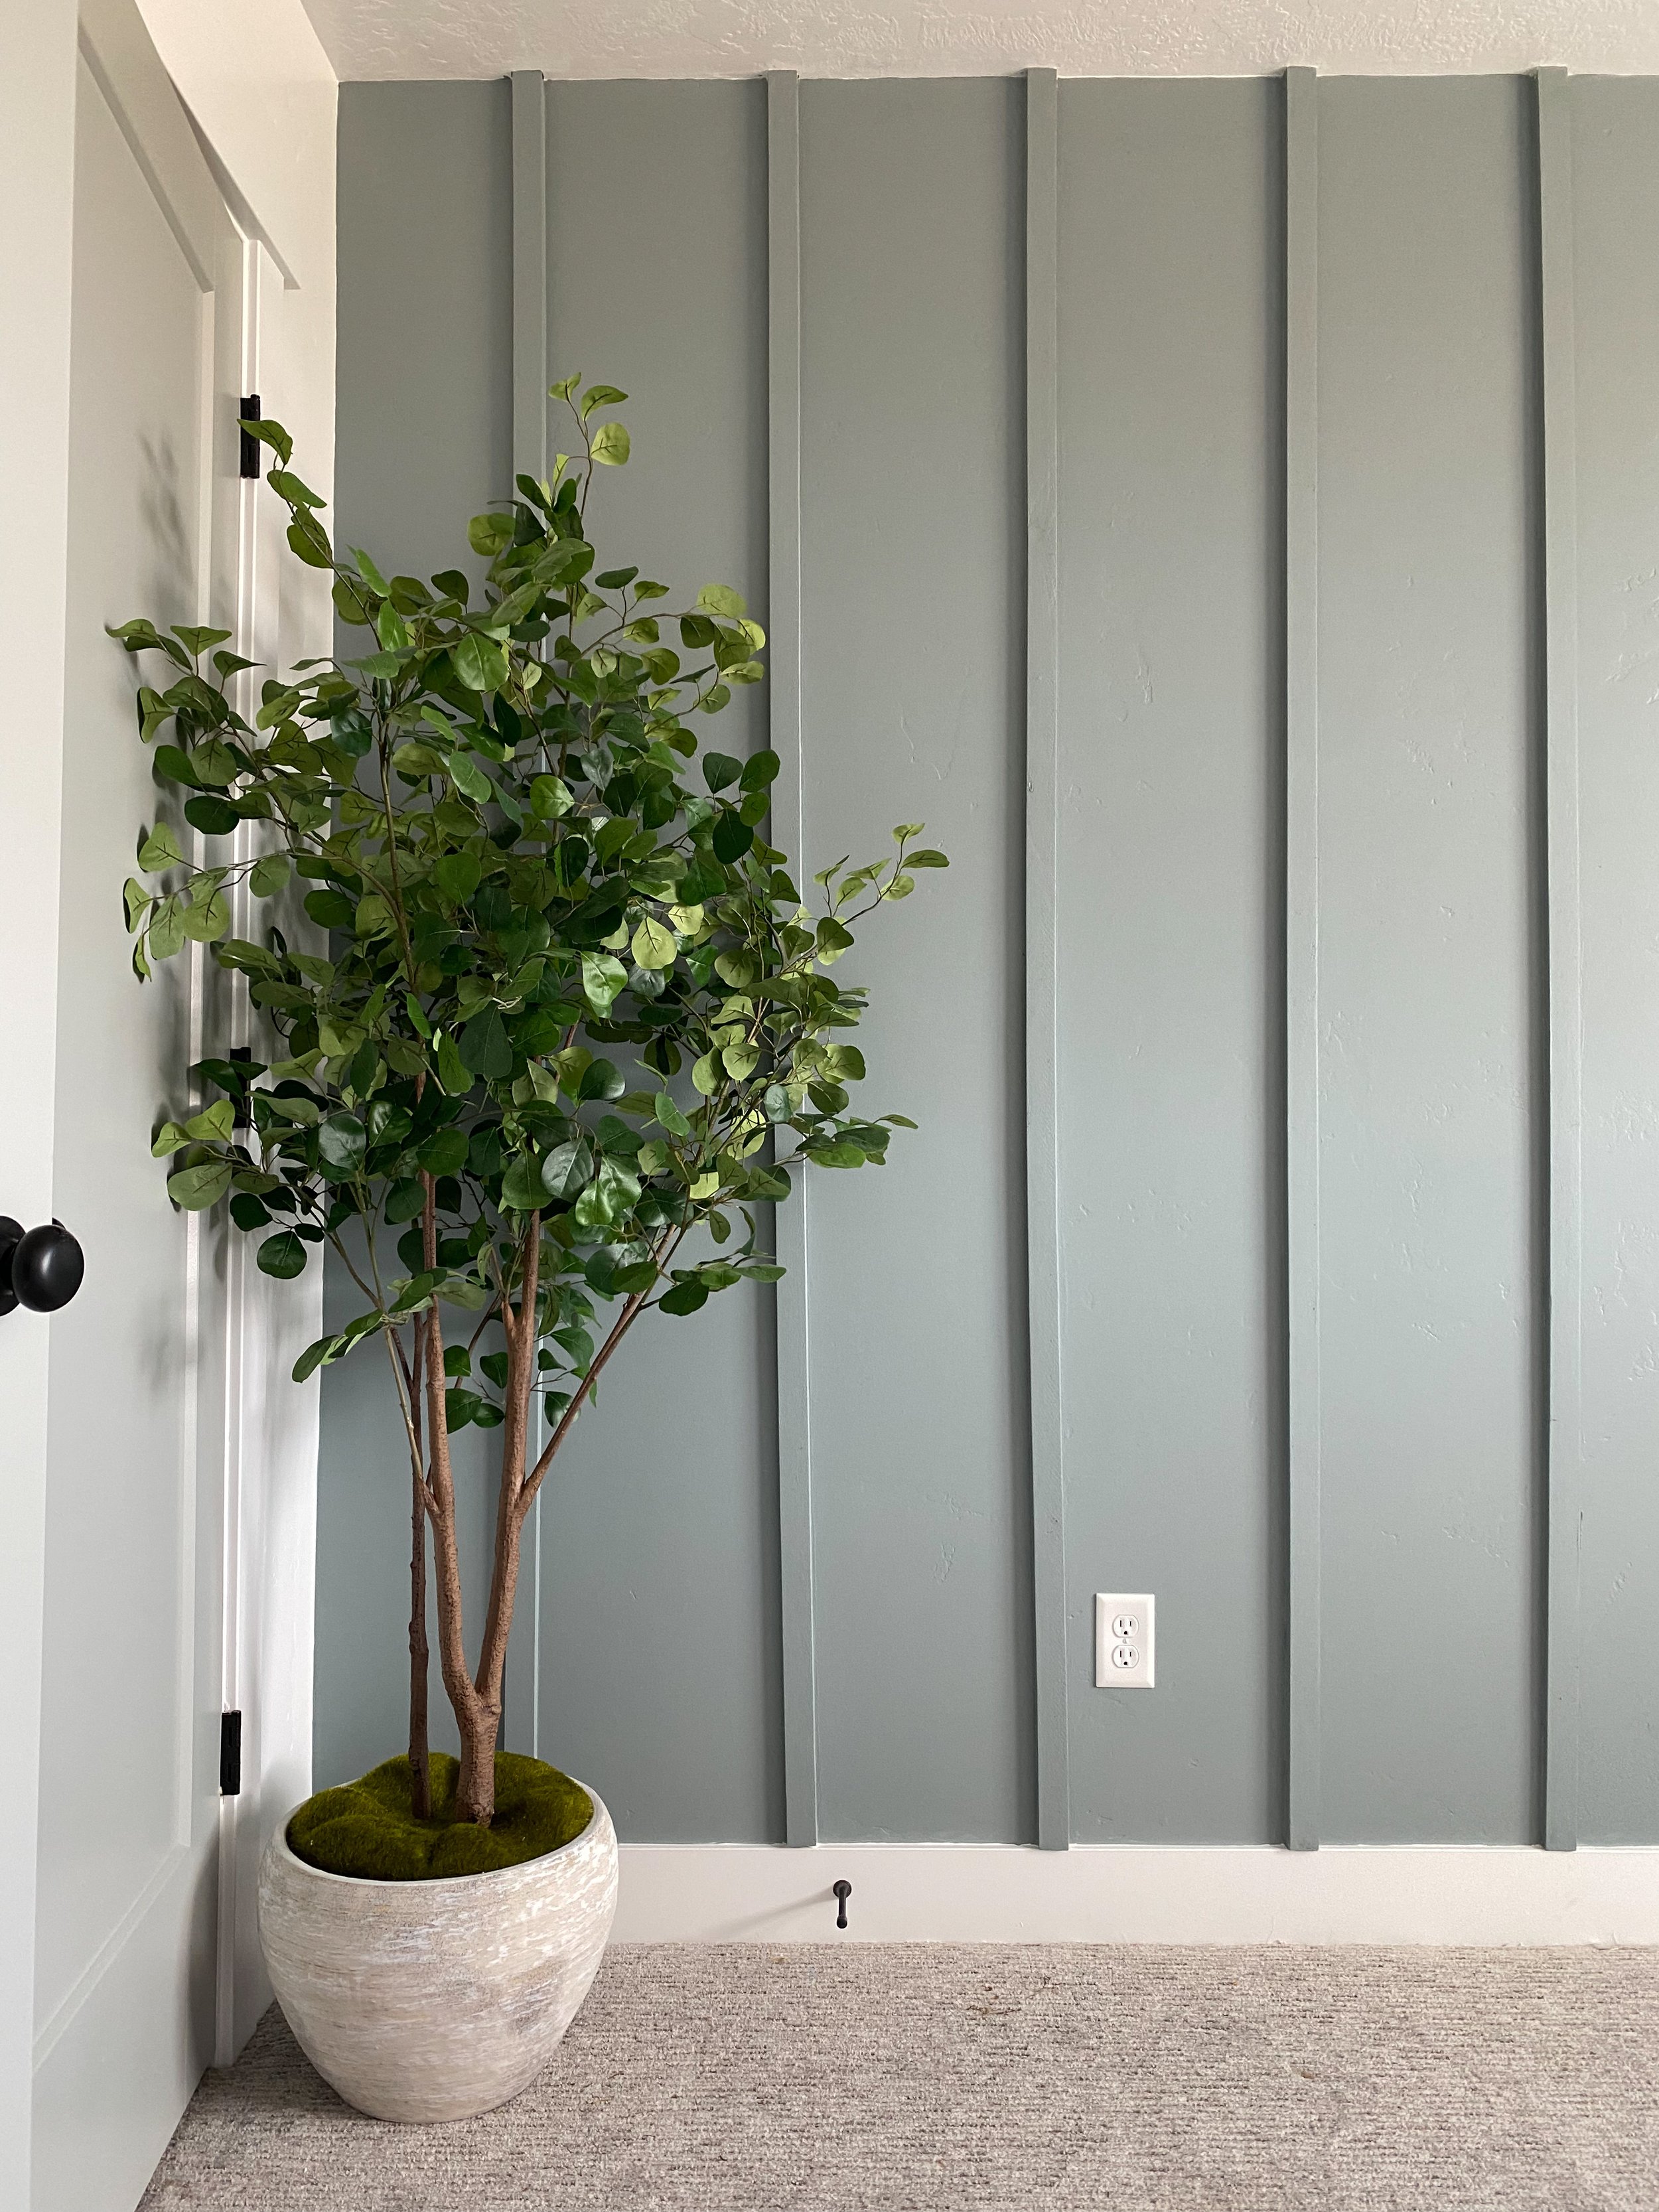
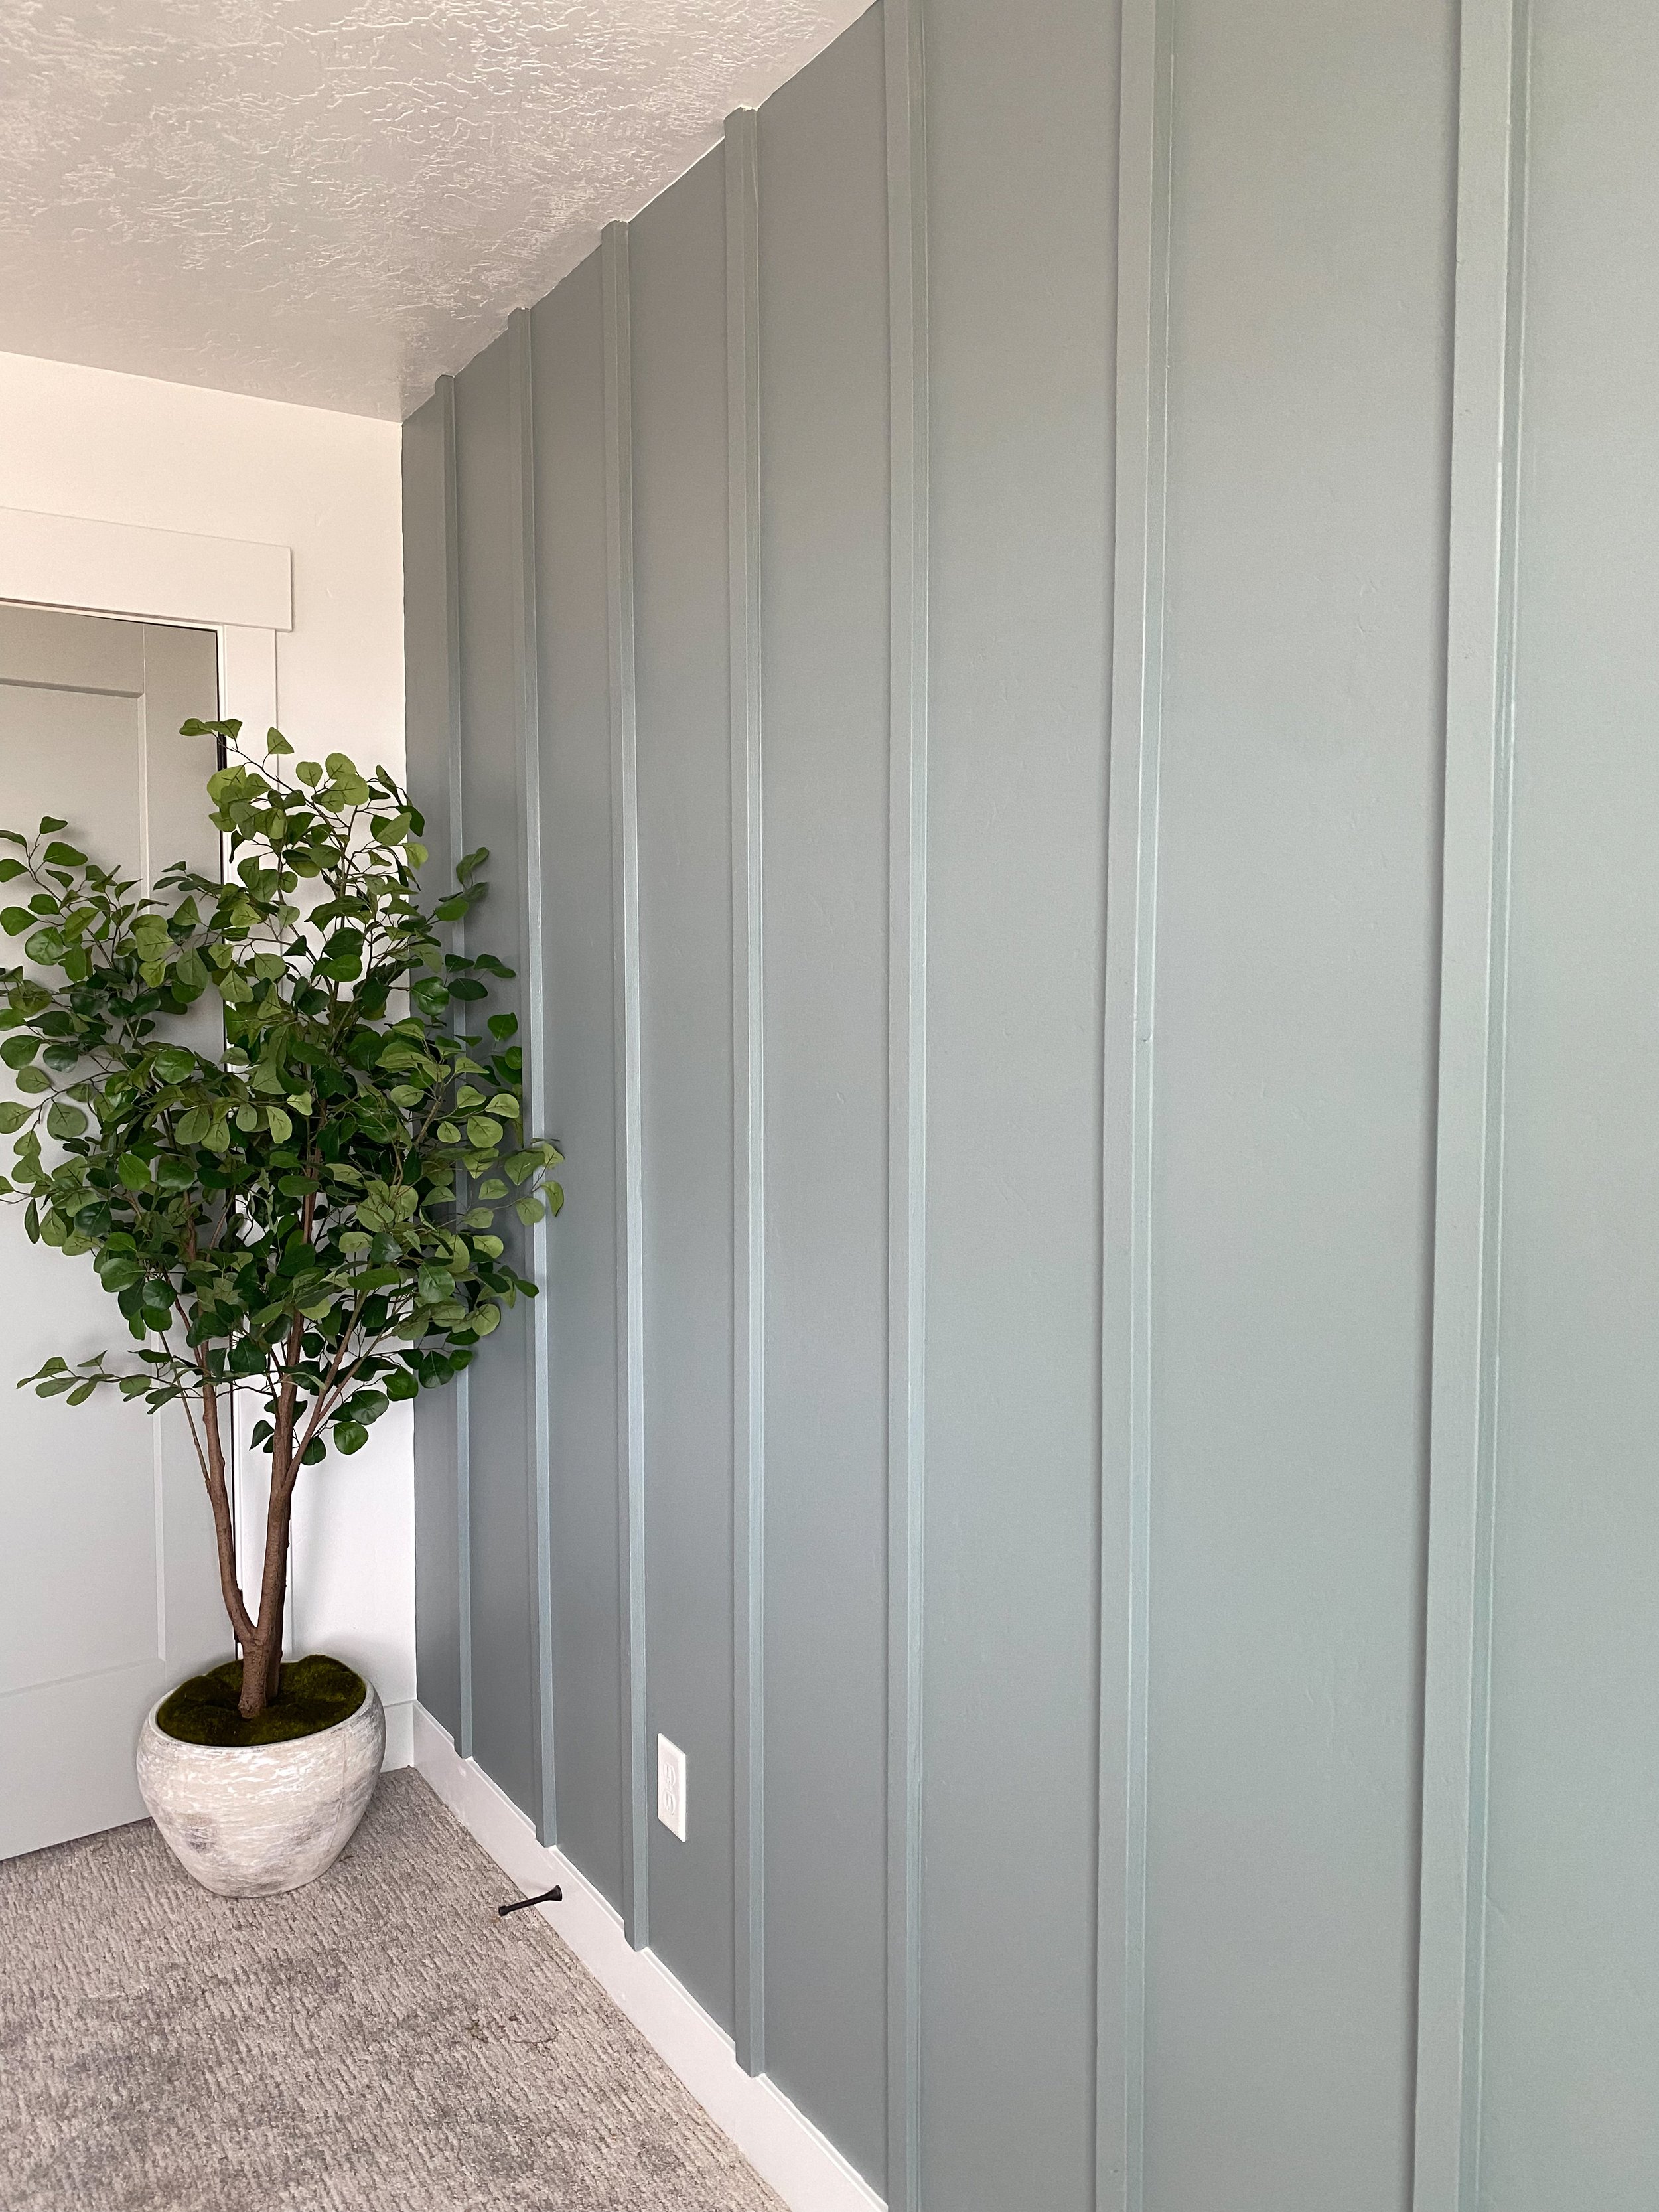
As you can see, angles and lighting make such a huge difference with this color. All of these images (completely unedited) were taken within seconds of each other so the sun shining through the window was exactly the same for all of these photos. But the photo toward the window vs away from the window vs straight on are all so different — and honestly I really love that about it!
These ones were edited (so not the true color) but were too cute not to include in here ;)